Showing posts with label party. Show all posts

Thursday, February 2, 2012

Rainbow birthday - all the rest!


You've seen the craft and the decorations. Here's what else we did to help little E celebrate big FIVE!

Coloring pages (from here)...

...rainbow scavenger hunt: balloons of each color were hidden with coordinating stickers.  The kids had to find each balloon and sticker their paper.  When they found all six colors...

...they received a little bag of gold (and silver) at the end of the rainbow!

Fabric party hats (found here), rainbow-style...


...twirl rainbow pops...


...rainbow relay: the kids lined up in teams of six.  They had to put on the rainbow wig, run to the other side of the room and color in one color of the rainbow.  When done, they ran back to their team, pass the wig and the next child runs down to color.

 
The rainbow cake (recipe here), but we didn't make it for the kids' party because a certain five-year-old didn't like it. We made sugar cookies with frosting and rainbow sprinkles instead.

...a rainbow of fruit..


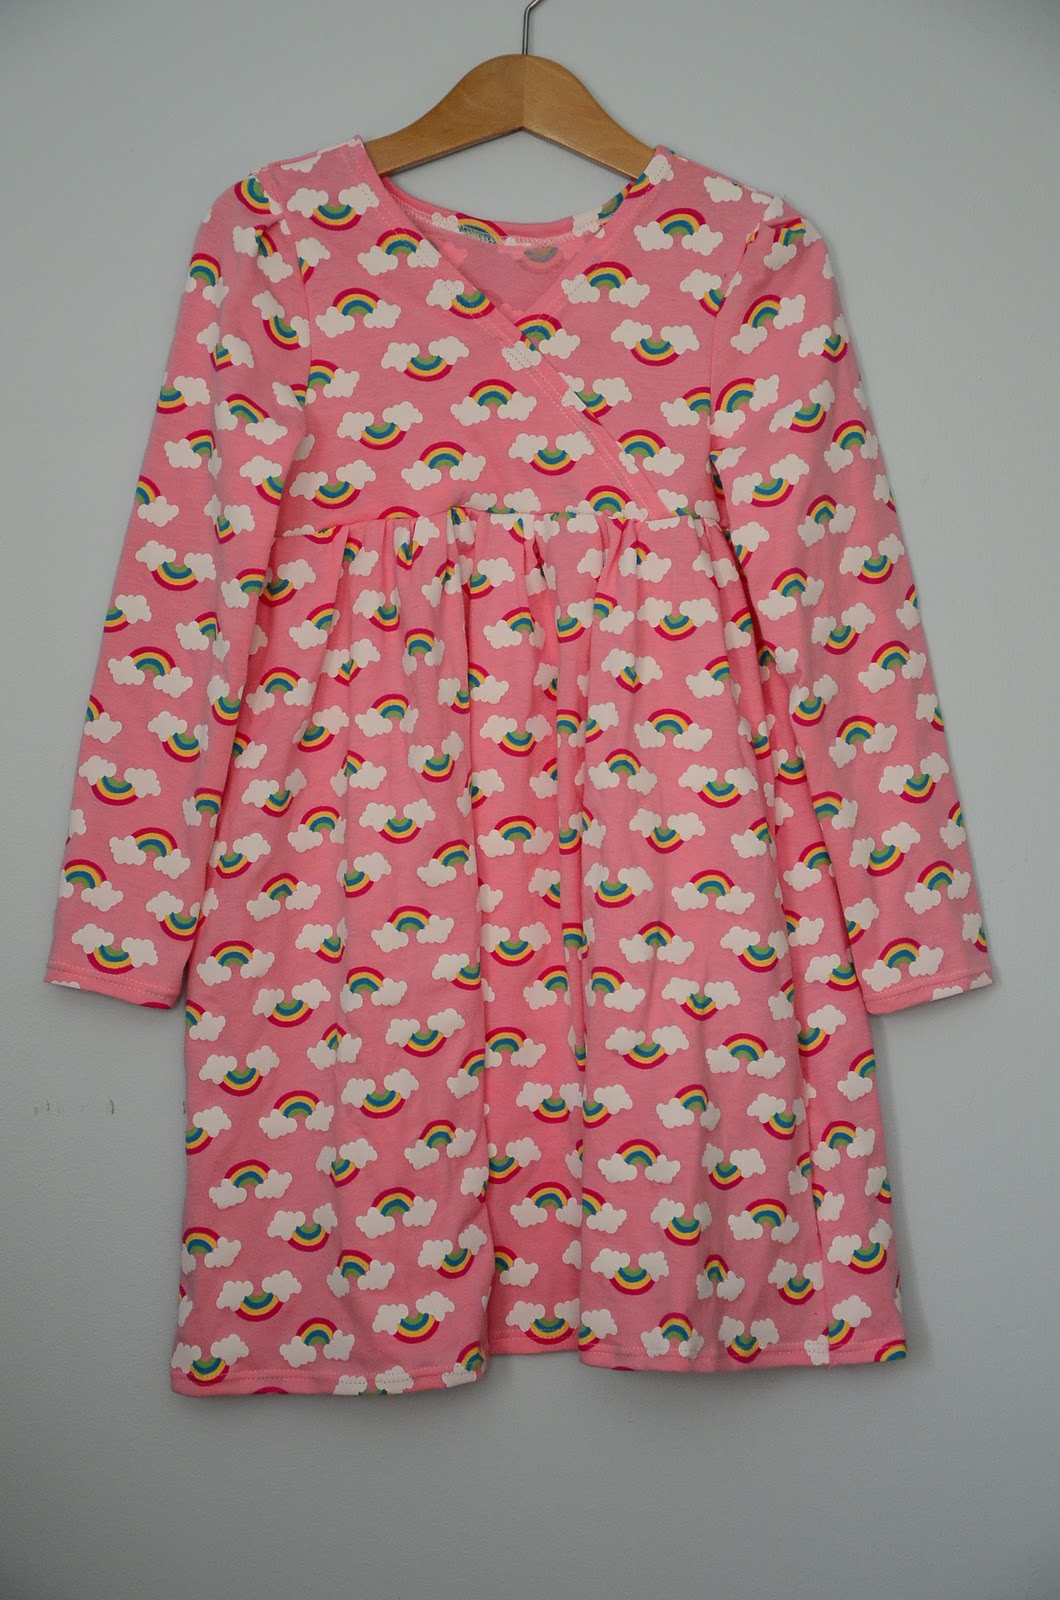
...the dress (handmade by me, am loving the finished look of the double needle!).


I think it was a successful party.


The five year old looks pretty happy!

Saturday, January 28, 2012

Rainbow birthday - the craft: rainbow garland from upcycled cardboard tubes


Is it the crafter in me, the artistic birthday girl, or the 12 children in the house on a winter day that called for a rainbow party craft?
I love that little E was soo proud of our enviro-friendly craft - the first thing she announced to everyone as they sat down at the table was, "It's made out of toilet paper tubes!"  Not paper towel tubes or wrapping paper tubes (which are both true!).  She's a crafter and an enviromentalist!

Here's what we did:
Materials: washable paint, glue, 8 rings (cut from upcycled cardboard tubes from you-know-where), paintbrush, hole puncher, yarn needle and yarn, cotton balls, large beads

1. Punch two holes on either side of each ring.


2. Paint seven rings (eight if you want to do a white coat under the cotton ball). With the lighter colors, you may want to do more than one coat.
3. Pull apart the cotton balls for a cloudy effect.  Glue them on the remaining ring.

4. Thread your needle.  If you double up the yarn and push the loop through the eye of the needle, you'll end up with a loop to hang the project when you are done.  Handy, eh?

5. Alternate bead and tube (oops - no cotton on that one - I glued it afterwards - with the kids, we skipped the white paint and glued the cotton before stringing everything so the glue could dry a bit).

6. Have fun and be creative with your color choices.

All strung...

...and ready to hang.


Perfect for a rainy day, or any day you need a little extra color!

Saturday, December 31, 2011

A rainbow of fruit

Our appetizer tray for tonight's New Year's party - a rainbow of fruit.

Wishing you a fruitful and colorful 2012!

Sunday, September 18, 2011

A monkey applique shirt, some news and a chalkboard mat tutorial...

First off, look who's two!


I can't believe how grown up she looks in this photo! The shirt is mommy-made, based on the monkey fabric in her party favors - Urban Zoologie Monkeys by Ann Kelle. 


Second, some quick news: I have a line of reusable snack sacks currently for sale at a local farm stand.  The pairing of the snack sacks and a business promoting local produce feels like such a good fit.  If you are a leaf-peeper in Western Mass, be sure to swing by M&M Green Valley Produce to check them out!

Last, but not least, I gave you a sneak peek at some chalkboard fabric a while back.  Now, that fabric has magically transformed into chalkboard mats!  These roll up for easy travel, and are perfect for entertaining little ones at restuarants, in the car, etc.

Interested in making one?  Here's how:  

 Materials: one 13.5 " x 11"  piece of cotton quiliting fabric
                 one 4" x 4" piece of cotton quilting fabric
                 one 13.5" x 11" piece of chalkboard fabric
                 one package extra wide, double fold bias tape, 1/2" width
                 12" piece rickrack (or ribbon) for tie


 1.  Round corners of both fabric pieces.


2. Pink top and left edge of 4 inch square.  Align with bottom right corner of chalkboard fabric and baste.  Trim along rounded corner.


3.  Use a spray adhesive to baste the wrong sides of fabric together.  My spray adhesive of choice?  Sulky KK 2000 - non-toxic, non-flammable and safe for the environment!


4. Beginning in the middle of the bottom, sandwich chalkboard fabric and cotton fabric between bias tape.  Note: the photos show me sewing with the chalkboard side up, but it's better to sew with the cotton side up.  This way, you can make sure you encase all the cotton fabric.


 5. Once you have sewn the bias tape around the entire chalkboard mat, overlap the ends by about an inch and a half.  Cut the tape.


 6. Open the tape and fold the end, wrong sides togther, about a half inch.


7.  Fold the sides of the tape back, enclosing the raw edges.  Now, re-sandwich the mat in the fold of the tape, sew and backstitch. 


8.  Fold your piece of rickrack or ribbon in half and sew to the right edge, half way up, on the cotton side.  Note: I used Fray Check on the ends of my rickrack.


9.  Write a message to your little one, tuck the chalk in the pocket, roll and tie your mat, and off you go!


Here are the ones I made for the party - perfect for a two year old girl and her friends!


And, for the two babies who came, their very own monkey bibs (because they'd probably just eat the chalk!). 


Wishing you lots of reasons to monkey around today!


Friday, April 1, 2011

A few more...

...hats, that is.


Three new ones to add to the collection - two with ball fringe, one with extra large rick rack.


And, I couldn't resist this one.  What do you suppose she's thinking right then and there?

Have a happy day!

Wednesday, March 2, 2011

Celebrate...with party hats!


While looking at a very girly princess hat the other day, it occurred to me that I could revamp the design to make a basic party hat.  Seeing as this is Celebrate the Boy month over at Made by Rae and Made, I thought this was the perfect way to get in the spirit!

So, dig out your favorite boy fabric and celebrate your little guy by making him a cute (and super-simple) party hat!

Here's how:

Materials: one 10" x 15" rectangle of outer fabric
                  two 10" x 15" rectangles of duck cloth for interior
                  one 11" piece of 1/8" elastic
                  one 18" piece of trim (rick-rack, pom-poms, etc.)

OR
                  
                  see HERE for an alternate way to line hat, including coordinating cute fabric


Step 1: Make a quick pattern - this hat is 9" long (from point to bottom) on both sides, and about 9" along the curved bottom.  So, the top angle is 60 degrees (hello, junior high math anyone?).
I'm trying my hand at including a pattern here (forgive my superior technical skills...ha ha) - the pattern is hand-drawn, and (I'm pretty sure) upside down.  Oh well - it will save you some math, right?

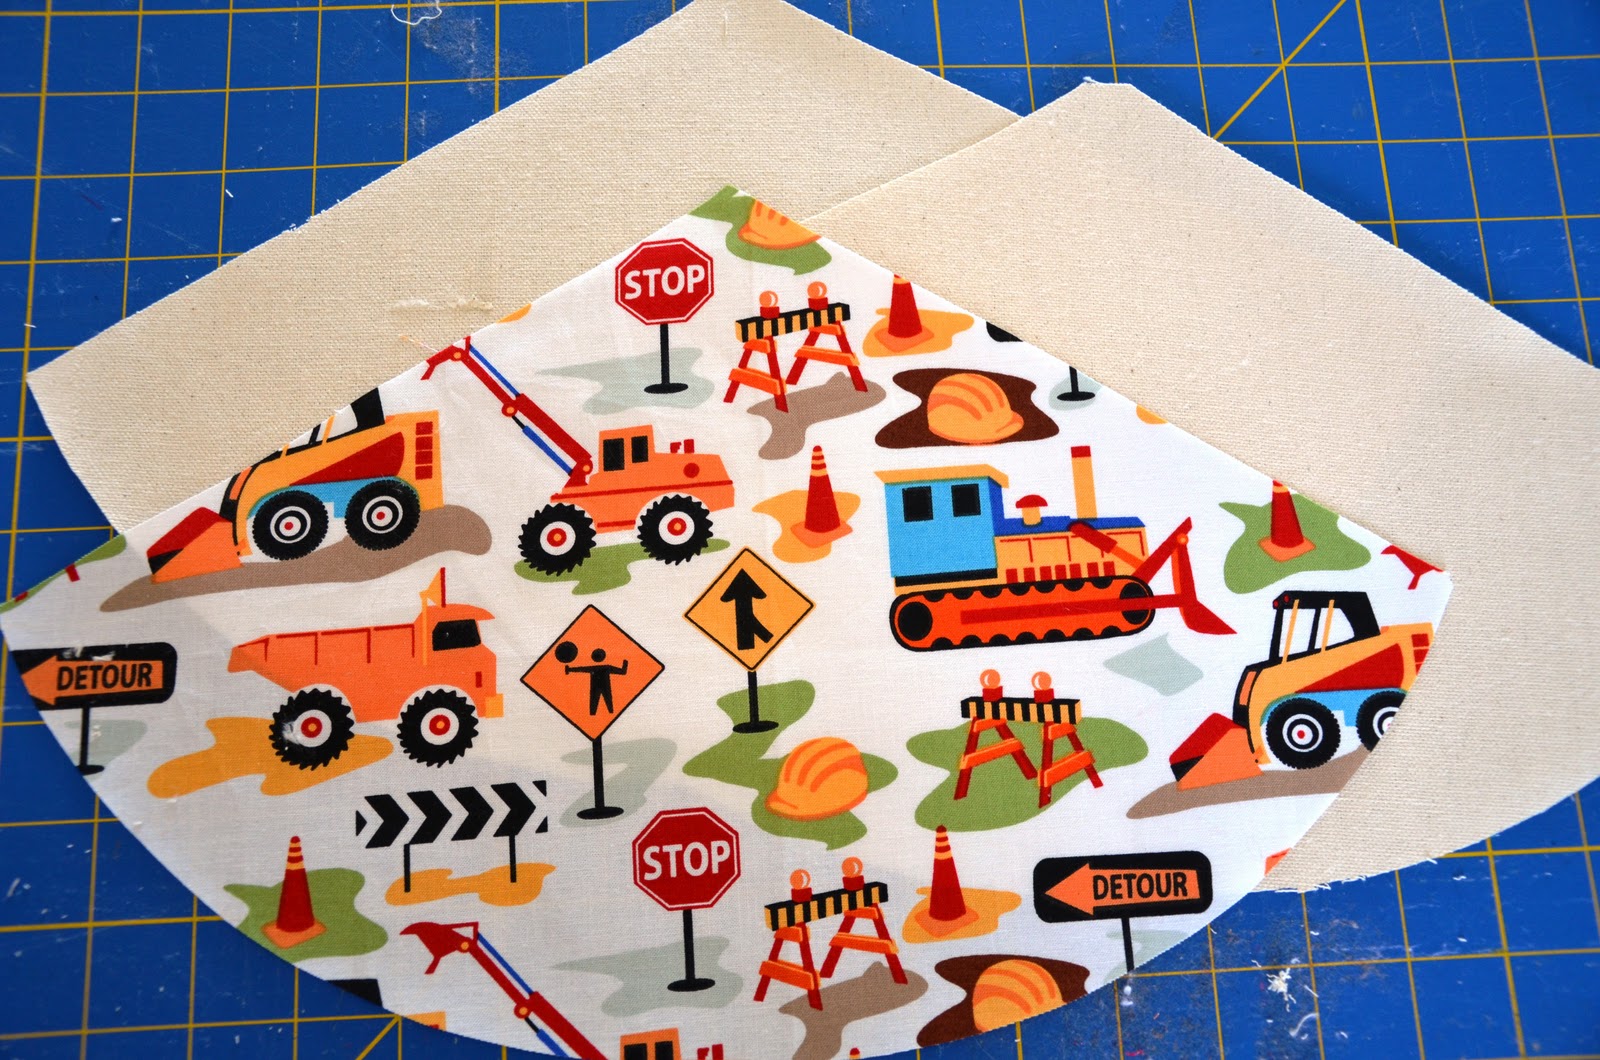
Step 2: Place one 9" side along the fold of your fabric.  Cut along the other 9" side and the curved bottom.  Repeat for both pieces of duck cloth.
Note: when you open the cut pieces of fabric, they will now be triangles with 9" straight sides, an 18" curved bottom, and a 120 degree angle at the top.


Step 3: Layer the fabric together.  Make sure the right side of your outer fabric is facing out.  I like using a temporary spray adhesive to hold the pieces together vs. pins - much quicker.


Step 4: Baste along the bottom curved edge.  I used about a 1/4" seam allowance.


Step 5: Serge (or zigzag or pink) along this edge.

Step 6: Sew down your elastic about 4 1/2 " in from each end of the bottom edge.  I zigzag and straight stitch over the elastic a few times to really secure it (do you think it looks secure?).


Step 7: Sew down your trim, covering up the elastic and serging.  Be sure to move the elastic out of the way so you don't sew it into your trim!  Trim that little bit of elastic sticking out.


Step 8: Fold the hat in half, right sides together, to match each 9" straight edge.  Sew this seam, being sure to backstitch at either end.  Serge (or otherwise finish) this seam.

Step 9: Turn the hat right side out, press and try on your little one. 


Have fun with all the fabric and trim combinations you can make!  I only had this green rick rack on hand when I made these three, but later that day, I raided the trim aisle at Joann's for lots more options.
I also think this would be such a fun project to make with muslin as the outer fabric.  Then, give the kids fabric markers, etc. and let them decorate their own!

Have fun!


LinkWithin

Related Posts Plugin for WordPress, Blogger...