Showing posts with label fabric. Show all posts

Friday, October 25, 2013

Orange and Pink


This fall, oranges and pinks seem to abound.  My eye is drawn to this vibrant combination, and I can't seem to get enough!


While walking through Joann's a few months ago, I spotted this fabric.  I couldn't resist scooping it up - especially with two new baby friends in the world.  


Two simple baby blankets, with rounded corners and a cozy chenille backing.  Perfect for that tummy time, and totally machine-washable for the mamas.  I hope the baby girls love the colors and print as much as I do!  Perhaps I'll inspire a (very) early love of fabric.

Wishing you a vibrant day!


Thursday, August 29, 2013

Beginning of school projects abound

It's that time of year again - back to school!

This year, we have a first grader in the house.  Her little IKEA craft table wasn't cutting it anymore - her sewing machine barely fit on it, and she was hunched over sewing.  Time for a grown up desk.


Enter this guy from Salvation Army.  I loved the slightly smaller size, but still lots of storage and space for homework and a sewing machine.


Here it is after MANY days of sanding off that ugly dark brown stain and finish!  Already looking better.


And here it is done!  I had to negotiate a bit so the whole thing didn't end up magenta, but I think Little E did well with the drawer pulls.  Stay tuned for the matching (and I mean hot pink) stool I'm working on now.


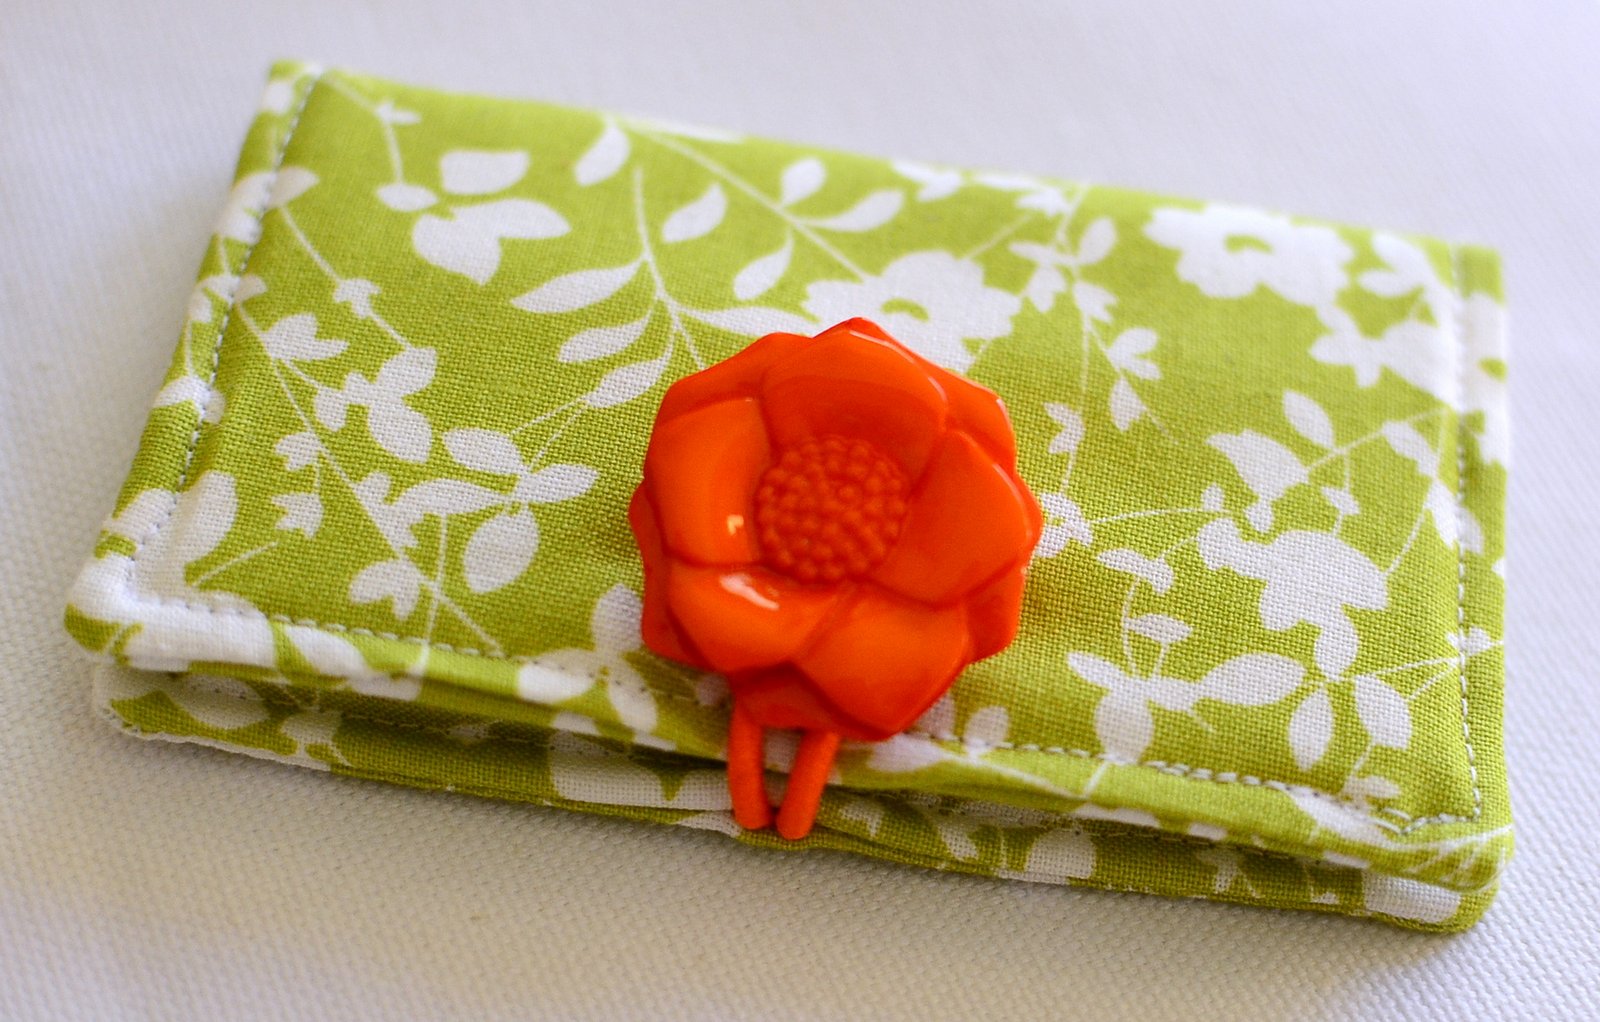
With the desk finally done, and Little E sewing up a storm, I had some time to get back to my machine too.  First up, some snack sacks for three friends starting new schools.  Pattern based on this tutorial


Next up, a book sling for Little A.  She starts preschool this year and was in need of a spot for her books.  Remember the one I made for Little E?  That was already 3 years ago!


Last but not least, I couldn't resist this "apple for the teacher".  Based on this tutorial and using this pattern, I sewed this up the morning school started (it's super quick).  I have another one for Little A's teacher for next week, too.  


Phew!  I think that makes us officially ready for the start of school!  Now, to get to some selfish sewing (and a giveaway for all of you)...stay tuned...


Sunday, August 25, 2013

Crafty Warning!!

water bottle holder
If you purchase a copy of Sewing School 2: Lessons in Machine Sewing; 20 Projects Kids Will Love to Make, you might create a sewing monster!  We certainly have one in our house!
sleepy bear
As I said in my book review HERE, these projects are so appealing and accessible for young sewists.  Little E has been sewing up a storm, and is SO proud of her accomplishments (could her smile be any wider?). 


I am enjoying being able to repurpose so many scraps and see them turned into something wonderful and loveable.

I'll be back soon to share some of my completed projects - just in time for school!  And, I'll have another book review and giveaway soon. Stay tuned!


Monday, February 25, 2013

Demystified...

We New Englanders have been living in the dark.  A curious, at times envious, crafting dark.  A Hobby Lobby dark.  Up until this weekend, that is, when our first Hobby Lobby (at least in Massachusetts) opened!


So many crafty blogs casually mention this store and we have been left to wonder what we are missing.  Wonder no longer, my friends!  I was able to snap a few photos with my phone (not many, though - seems they were triple-staffed for the grand opening!) to satisfy your curiosity.


While the fabric selection was small, there were so many cute prints and colors.  These were the home dec chevrons! 


Tons of things to decorate your home, too!  While I have been on a major decluttering spree and do NOT want these things in my home collecting dust, they are still fun to look at.  Do you want faux birdcages? glass bottles? metal Ford signs for your garage?  mini-London phone booths?  They have it all, and lots more!  It's almost too much!


In the end, I think I showed pretty good restraint.  3 yards quilting cotton and 1 yard striped knit.  Not bad for feeling like a kid in a candy shop!


Friday, February 22, 2013

Kiss Lock Clutch


A few weeks ago, I had the pleasure of taking a sewing class at Stitch Lounge in Greenfield, MA.

If you are any bit local to the area, I highly recommend a trip into Jenna's lovely store.  (For those not local, her etsy shop has the sweetest fabrics!)


During the class, we learned to make kiss lock clutches.  Jenna's pattern is perfect for using up small fabric pieces, including these treasured black and yellow florals from Moda.


Unfortunately, I couldn't make my piece of Anna Maria Horner's Good Folks work for the bigger clutch.  Luckily, Jenna had a fat quarter of this pink floral, which ended up matching my lining pretty well.

It was great to be a sewing student, rather than teacher, for a night, and spend some time in somebody else's sewing space.  I think I see more of these clutches in my future! 

Hoping you find something new and fun to create!


Thursday, January 10, 2013

Teeny tiny snack sacks tutorial


I will warn you: these are a little addictive to make (maybe because I keep using food-related fabric?).
If you are up for the temptation, you will need:


one 10.5" x 3.5" piece of ripstop nylon (or liner of your choice)
one 10.5" x 3.5" piece of cotton fabric
one 2" piece of velcro (poky and soft sides)


Sew the soft velcro in the center of one end of the nylon, positioned 3/4" down from edge.


Fuse wrong side of fabric to wrong side of nylon.
**If using a directional print, turn it upside down and keep velcro at top.**


Here it is fused with velcro on the inside.


Round top corners.


Finish opposite short end (serge or zigzag or bias tape, as in this tutorial).  Sew poky velcro 1" down from finished edge and centered on the fabric.


Fold bottom edge up 3.5".  Finger press fold.  If you have a craft label, sew on now.


Starting at the bottom corner, serge (or otherwise finish) around the snack sack, ending at the other bottom corner.  Fray check ends of stitching.
  
 Pack some cookies and enjoy your new teeny tiny snack sack!


Tuesday, January 8, 2013

Teeny tiny snack sacks


 We have a Daisy Girl Scout in our house (and a Daisy Girl Scout leader!).  Do you know it's almost Girl Scout Cookie time in New England?


Almost as good as those tasty Samoas is a teeny tiny snack sack to pack them in!  (Disclaimer: this is NOT a tasty Samoa featured but a cheap Target cookie - the good stuff isn't in yet!)


Just the right size for one cookie for a special lunch treat...


...and just the right size for little fingers. 


Would you like to make some?  Check back tomorrow for the tutorial.

P.S. This would also make a great change purse, small gift bag, envelope for little love notes.

Wednesday, December 12, 2012

Business card holder from The Crafty Cupboard: with a twist


I LOVE this business card holder pattern from The Crafty Cupboard.  I made my first one to match a new spring bag and loved having a special place to put my crafty card.  When a friend requested one for her growing photography business, I had an epiphany.


To hem the top of the pockets, Melanie has you fold 1/4" and fold 1/4" again and press.  I don't know about you, but my fingers and iron don't get along - especially when folding tiny hems!  BUT...I did just treat myself to a few new hemmer feet, which are perfect for this job!

To use a hemmer foot to make the pocket hem, I cut one piece for the pocket 2 1/2" x 10" (instead of two 2 1/2" x 4 1/2" pieces).  My math is not off - I gave myself an extra inch to get the rolled hem going.


I found this tutorial that explains how to get the rolled hem started.   Sew about an inch and leave a long thread tail.


I found finger pressing 1/4" helped make it feed through the foot more evenly.


Start feeding the raw edge into the foot, using the long tail to help manipulate from the back.


Guide the fabric over the coil in the foot.


Gently use the long thread tail to pull the fabric as you start to sew.  See how the fabric on the right is going into the foot and folding over on itself?  And, more importantly, see how it is coming out on the left side all pressed and sewn!?


Here it is done (in seconds!). 


Now, take your 2 1/2" x 10" piece and cut into the required two 2 1/2" x 4 1/2" pieces.  Discard the extra inch (if the beginning of your hem was a bit wonky, throw that part away!).


Continue following the pattern as written and you'll have a swanky new business card holder in no time! 


LinkWithin

Related Posts Plugin for WordPress, Blogger...