I LOVE
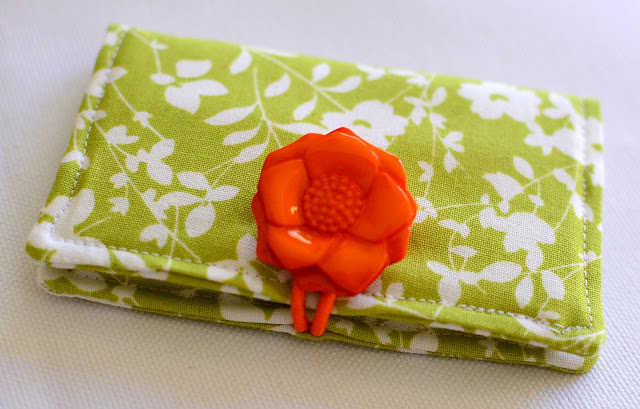
this business card holder pattern from The Crafty Cupboard. I
made my first one to match a new spring bag and loved having a special place to put my crafty card. When a friend requested one for her
growing photography business, I had an epiphany.

To hem the top of the pockets, Melanie has you fold 1/4" and fold 1/4" again and press. I don't know about you, but my fingers and iron don't get along - especially when folding tiny hems! BUT...I did just treat myself to a few new hemmer feet, which are perfect for this job!
To use a hemmer foot to make the pocket hem, I cut one piece for the pocket 2 1/2" x 10" (instead of two 2 1/2" x 4 1/2" pieces). My math is
not off - I gave myself an extra inch to get the rolled hem going.

I found
this tutorial that explains how to get the rolled hem started. Sew about an inch and leave a long thread tail.

I found finger pressing 1/4" helped make it feed through the foot more evenly.

Start feeding the raw edge into the foot, using the long tail to help manipulate from the back.

Guide the fabric over the coil in the foot.

Gently use the long thread tail to pull the fabric as you start to sew. See how the fabric on the right is going into the foot and folding over on itself? And, more importantly, see how it is coming out on the left side all pressed and sewn!?

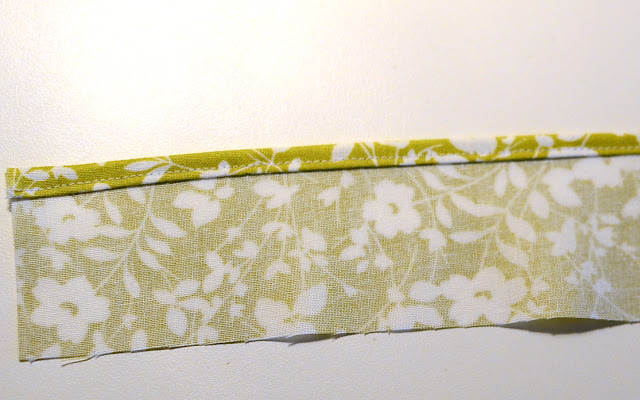
Here it is done (in seconds!).

Now, take your 2 1/2" x 10" piece and cut into the required two 2 1/2" x 4 1/2" pieces. Discard the extra inch (if the beginning of your hem was a bit wonky, throw that part away!).

Continue following the pattern as written and you'll have a swanky new business card holder in no time!
 to make some clothing for myself


