Showing posts with label holiday. Show all posts

Tuesday, February 12, 2013

Spread the love


I think Valentine's Day is as much a day to celebrate your special sweetie as it is to celebrate your other loved ones: kids, parents, friends, and relatives.


The girls and I sewed up a few Valentine felt garlands for the grandparents, and honorary grandparents (special aunts and uncles).


I love how simple this project is, and how much Valenteine cheer can be spread with it. 


Rolled up, slipped into a clear plastic bag, labeled with a simple tag, and ready to deliver!

Hope you are finding some holiday inspiration this week!

Thursday, December 6, 2012

Zippered Yarn Sacks from Just Crafty Enough


Hey there!
Just a quick pop in to share my latest completed project - zippered yarn sacks from Just Crafty Enough.  The only change I made was to round the corners before sewing.  The first two have a slightly rounded corner.  The yellow polka dot has a larger rounded corner.  I think I prefer the smaller.  What do you think?


There are a few knitters in my life who will be receiving these for Christmas.


I love the eyelet for the yarn to pop through!  No more balls of yarn rolling all over the floor while you try to knit.  And, a set of three might keep projects that use more than one ball from getting all tangled (ask me how I know these things!).


I'm especially excited about the yellow and gray fabrics - two of which I recently bought at Stitch Lounge - a very fun new find in Western Massachusetts.  If you are local, you definitely have to check out Jenna's space - it's just lovely!
 
A peek inside at the coordinating fabrics.

Hope you are enjoying some crafting-for-the-holidays!


Tuesday, November 20, 2012

Fancy Dish Gloves from the Happier Homemaker


For this week's Bias Tape Tuesday installment, I wanted to share a project using single fold bias tape.  I stumbled across this tutorial and couldn't wait to try it - especially with the holidays coming - what a great hostess gift!  Useful and (my favorite) whimsical!


Single fold bias tape is what is pictured below.  It is frequently used for facing armholes in apparel.  I think I've seen it used to hem a skirt, too.  This is what you make when using the bias tape tool.  For the gloves, I simply used this single fold bias tape instead of ribbon.  Because you can make your own, you can pick whatever pattern matches your gloves and ruffle (I had this leftover green from a different project). 


Simply place the bias tape, opening side down, over seam and edgestitch.  I used the leftovers to make the little bows to cover up where the bias tape overlapped.


The only problem will be deciding who gets these!  They are too cute!  And, the fabric is from Heather Bailey's Nicey Jane collection - how could a Jane of All Trades resist? 
 
 Happy Thanksgiving!


Friday, December 23, 2011

Felt bird ornaments

Each year, we like to treat our family friends to a small, meaningful gift for the holidays. We have friends that are known for their granola, hot chocolate and gingerbread men. While I've made peppermint bark in the past, I wanted to do something different this year.

Little E had planted sunflowers in the garden that yielded beautiful yellow heads full of seeds. When they dried up, we got the idea to save them and give them out as our holiday gift - something to either save and plant or share with the birds now.

After a few trial runs, I came up with a felt bird ornament with a fabric applique wing and bell to accompany the sunflower. Unfortunately, when we went to retrieve the flowers, they looked less than gift-worthy. Plan B? A sack of seeds the birds will enjoy in the coming winter months along with a handcrafted ornament I hope our friends will enjoy in the years to come.


The bottom right was my first bird - the wing came out a bit too big. I love the paisely brown one, probably for the sheer luck that the print landed on its eye. In the end, I opted for the simple felt birds - I love the striking contrast between the saturated color of the felt and the fabric print.


Here are two gifts, packaged and ready to deliver (can you tell my color ink was running out?).

Wishing you the joy of creating and giving!

Sunday, December 18, 2011

Candy cane heart pops

While cleaning out my craft area, I came across an old Family Fun magazine. Before recycling it, I flipped through quickly and found these great Valentine pops.  A simple recipe with few ingredients and a few steps makes for great holiday treats to wrap up for friends.

With a change of sprinkle color, they are now perfect for the holiday season.


Candy cane, white chocolate and festive sprinkles...

...all packaged and ready to go (into my tummy?).


Hope you find time to try something new today!

Tuesday, December 13, 2011

Holiday dog treats

This guy deserves a treat! He puts up with a two year old climbing all over him, an almost-five-year-old practicing her dog training on him, and waiting his turn for attention. While he is our first-born, he often comes third in the line-up.

So, to give him a special treat for his birthday (seven!), we found this dog treat recipe. He LOVES them, and I love that they are all-natural and easy to make. The girls love to help roll and cut, and it's really fun to find cookie cutter shapes to match the season.


You can find the recipe here: a super easy peanut butter dog treat recipe


One batch makes two cookie sheets full, so bake some for your favorite furry friend and share some with others. This is the perfect holiday gift for a dog-loving friend!


I guarantee your dog will come running for these treats!

Wishing you delicious moments baking this holiday season!

Sunday, December 11, 2011

Merry and bright


Hello, my friends.

It has been a long time since I last posted - not for lack of crafting, taking photos or thinking of posts to share. We had a busy, eventful fall and it felt like every week was a call to tend to family, house and friends.

After little A turned 2, we faced a long stretch of illness. Luckily, through it all, we were blessed with good spirit and love, and now health again.

We then experienced the October snow storm that took out our power for close to a week. Again, we were blessed with good spirit, a sense of adventure and good friends to help clear the debris.

November brought two craft fairs that kept these fingers busy sewing for weeks. Both events were successful and fun - a chance to connect to community and friends new and old. We also celebrated two birthdays in our house - one for a furry friend and one for yours truly. While the number hit a bit harder this year, I am thankful for so much and consider myself a very lucky lady.

December is now here and we are in the throes of preparing for Christmas. The decorations are up, the tree is lit (cut from our backyard - it is beautiful!), gifts are purchased and parties are beginning.
It is a magical time of year and I wish all of you the very best for your seasonal celebrations.

P.S. The photo is of a holiday swag I made for a friend using many of the broken tree limbs from the October storm and berries picked on the side of the road. 

Monday, December 13, 2010

Pocket o' chocolate holiday tags

For today's big adventure, the girls and I checked out our new local food market - a cross between Trader Joe's, B.J.'s and IKEA.  While it won't become our one-stop grocery, we did find some treats - these little holiday chocolates.  At $1.49 for a bag of 12, why not buy one (or three) we thought.  As we drove along our merry way, little E and I discussed our sweet thrifty find and what we could do with 36 or so chocolate characters.  One idea led to another until, "Wouldn't it be neat to make a gift tag with a little pocket for the chocolate?  A chocolate pocket!"  So....here's how we did it (or, really, how I did it while baby A napped and little E had a ton of fun "arting" with my fabric scraps, glue, "stamples" and paper):

 1.  Gather chocolates or some other small treat for your pocket tags.


 2. Dig through your scraps for festive fabric - cut into 2 inch squares and iron if needed.

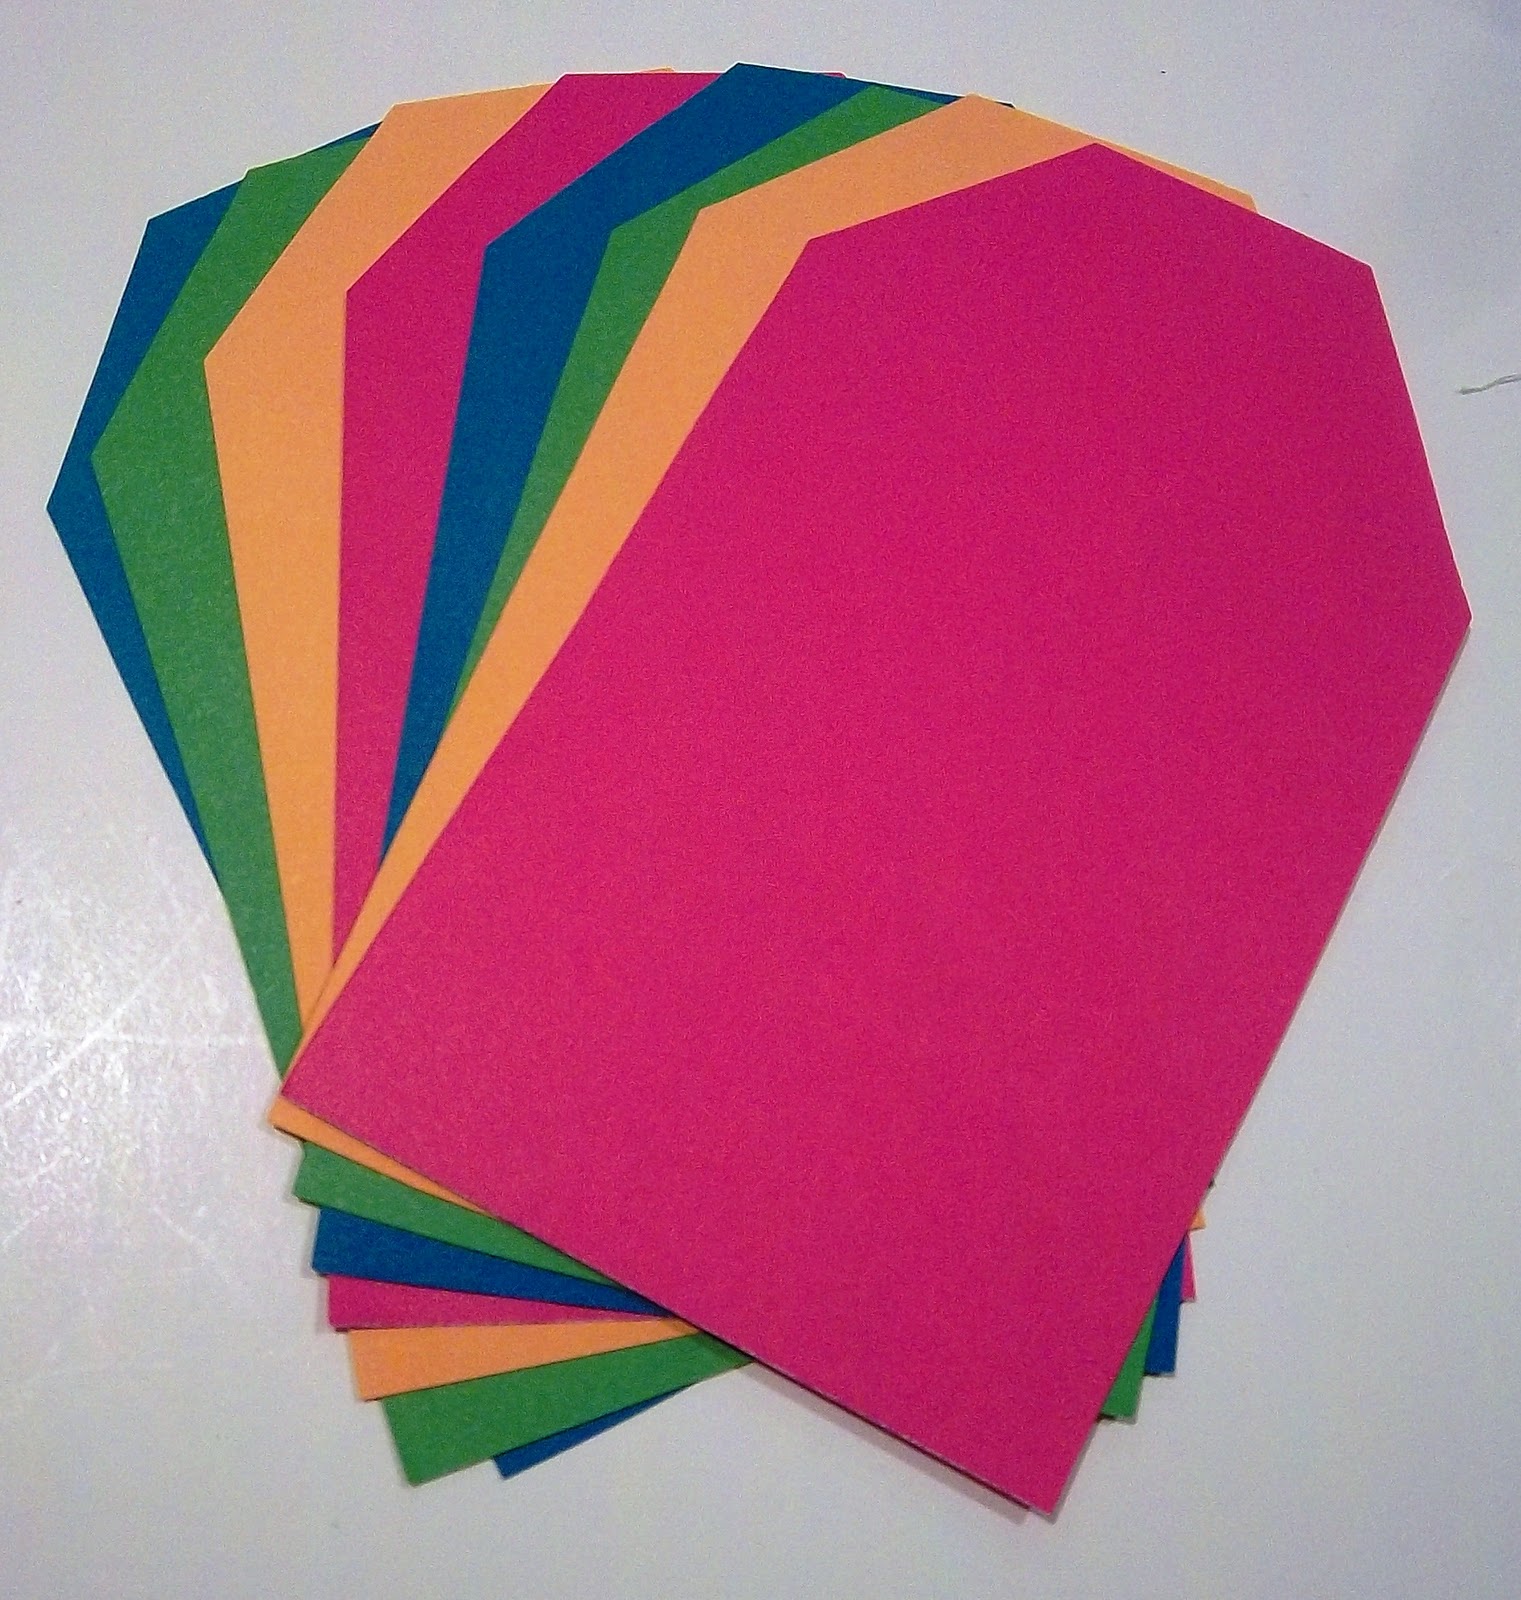
 3.  Find some card stock and cut into simple tag shape.  Mine ended up being as follows:


 4. Pink all four sides of fabric squares (perfection NOT necessary!).


 5. Place fabric on tag for desired placement (NOTE: this pocket is a bit tall - after sewing this one, I trimmed the rest down about a 1/2 inch").


 6. Sew sides and botton, using a 3/8" seam.  Backstitch at each end.  I found it helpful to lengthen stitch a bit and go slowly (and it helped to give a loving nudge to the paper as it fed through the machine).


 8. Label tag for your intended recipient and add the chocolate.  See the snowman peeking out?


 9.  Make lots more because they are so easy, and who doesn't love chocolate?


 10.  If you don't have a fancy new food market in town, try some mini-candy canes instead!  (For a snugger fit, you can cut the fabric a bit shorter in width.)


 11. Stand back and imagine the grin on their little faces when they see they have presents AND chocolate to open on Christmas day.


 12. And, because this is such a taxing craft project (note: sarcastic tone), don't forget to treat yourself to some chocolate too! 


Happy crafting!

Tuesday, October 26, 2010

Another bunting

It's almost Halloween - hooray!  I don't know what it is about this holiday that always has me a bit giddy.  We are definitely not the family to recreate a graveyard in our front yard or go to town carving pumpkins.  But, I love my Halloween decorations that come out of the box each year, and have been enjoying creating a few new ones this year. 


First up, another bunting/garland.  I made my first appliqued bunting for little A's birthday.  I thought I would do another very similar but with square panels instead of triangles (it was kind of tricky fitting and centering the letters on the pennants).  I had planned to sew orange pom poms to connect all the letters but then saw the orange rick-rack and went with that.  After seeing an old post on Made by Rae, I decided to use the tiny black rick-rack to make little tags instead.

All in all, I like the look of this, but, let me tell you:  it is NOT easy to slide tiny rick-rack along a larger rick-rack length.  And....if you want to get a photo of your completed project, don't do it on a windy day - these letters were flipping around all over the place!  (Where I actually hang the bunting inside is in our stairwell - the light is really tricky for getting a good photo.)

Also, if you have a dog, you might want to keep him inside for your outdoor photo shoot or he might grab the bunting and run for it, causing a tangeld, twisted mess (not that MY dog did that...wait, yes he did.  Sigh...)

On a last, wonderfully positive note:  I found a new product that I love, love, love - Sulky Temporary Spray Adhesive.    Not using iron-on fusible web makes me feel a bit like a cheater, but it was soo easy to simply spray, stick and sew!


Happy Halloween!

LinkWithin

Related Posts Plugin for WordPress, Blogger...