Showing posts with label doll. Show all posts

Thursday, January 10, 2013

New apron pattern

 
 I'll post the Teeny Tiny Snack Sack tutorial soon, but wanted to share these quickly.


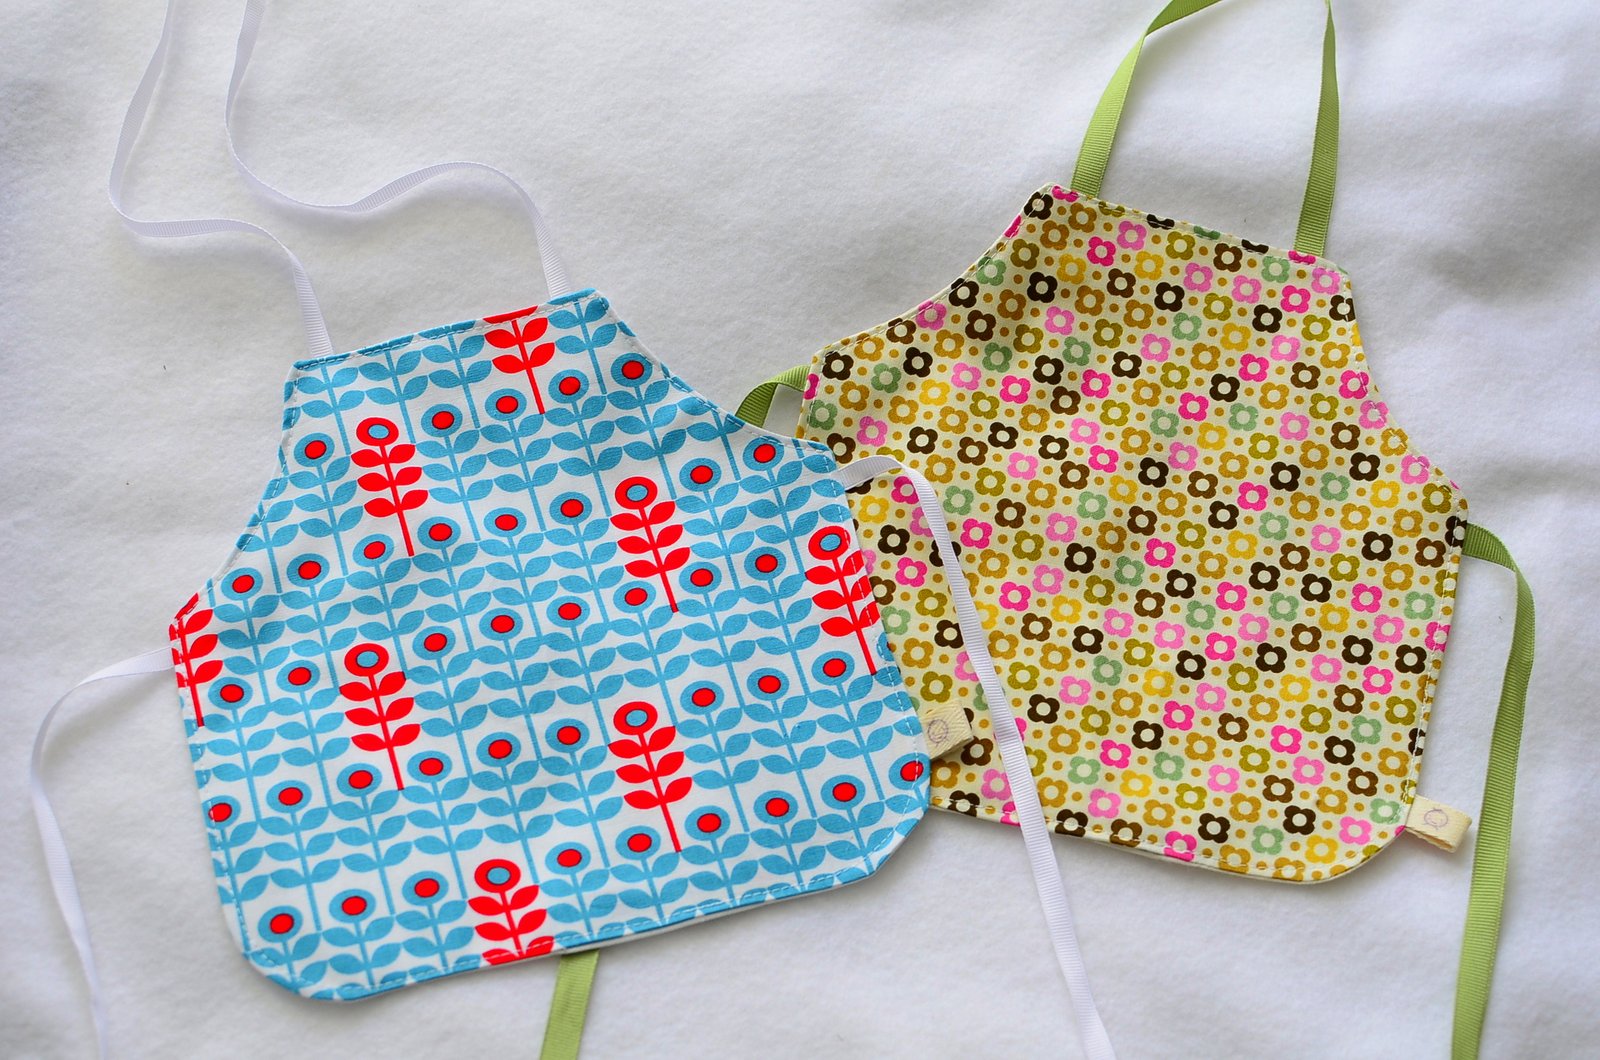
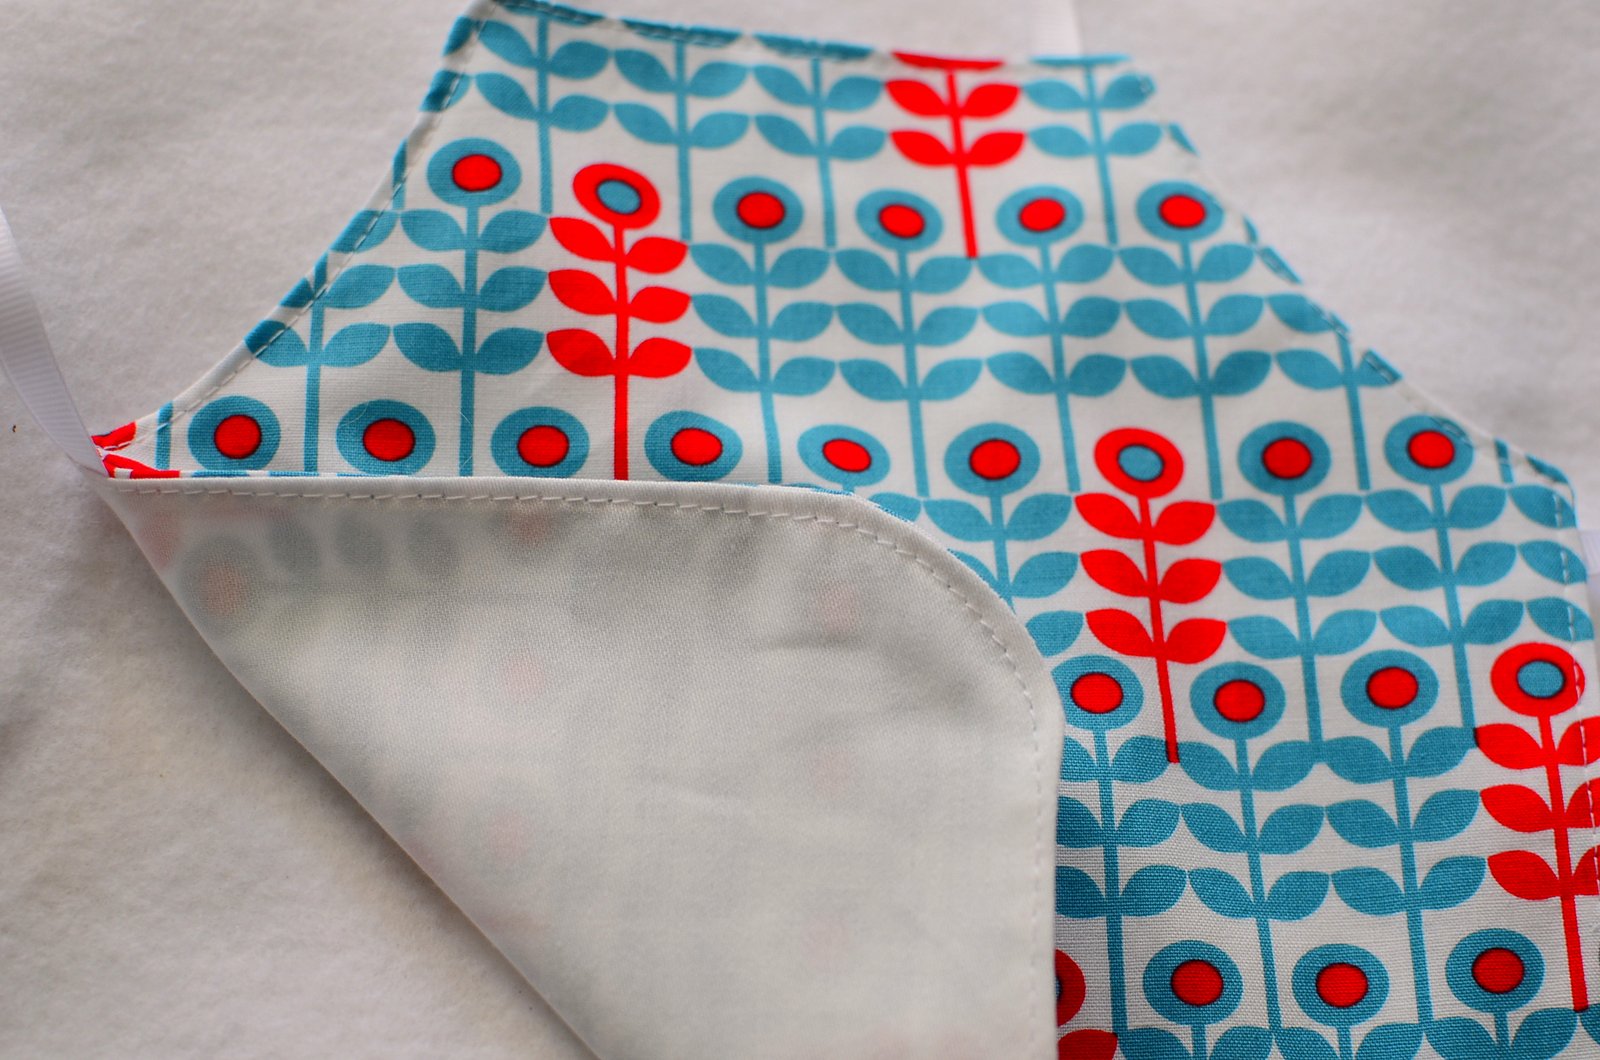
I was testing this pattern and am pretty happy with the results.  A cotton apron with grosgrain ribbon ties, backed with coordinating solid cotton.

Of course, they are miniature-sized for these girls.


Perfect for little fingers learning to tie (I might add velcro and shorten the ends for the little one in our house).

 
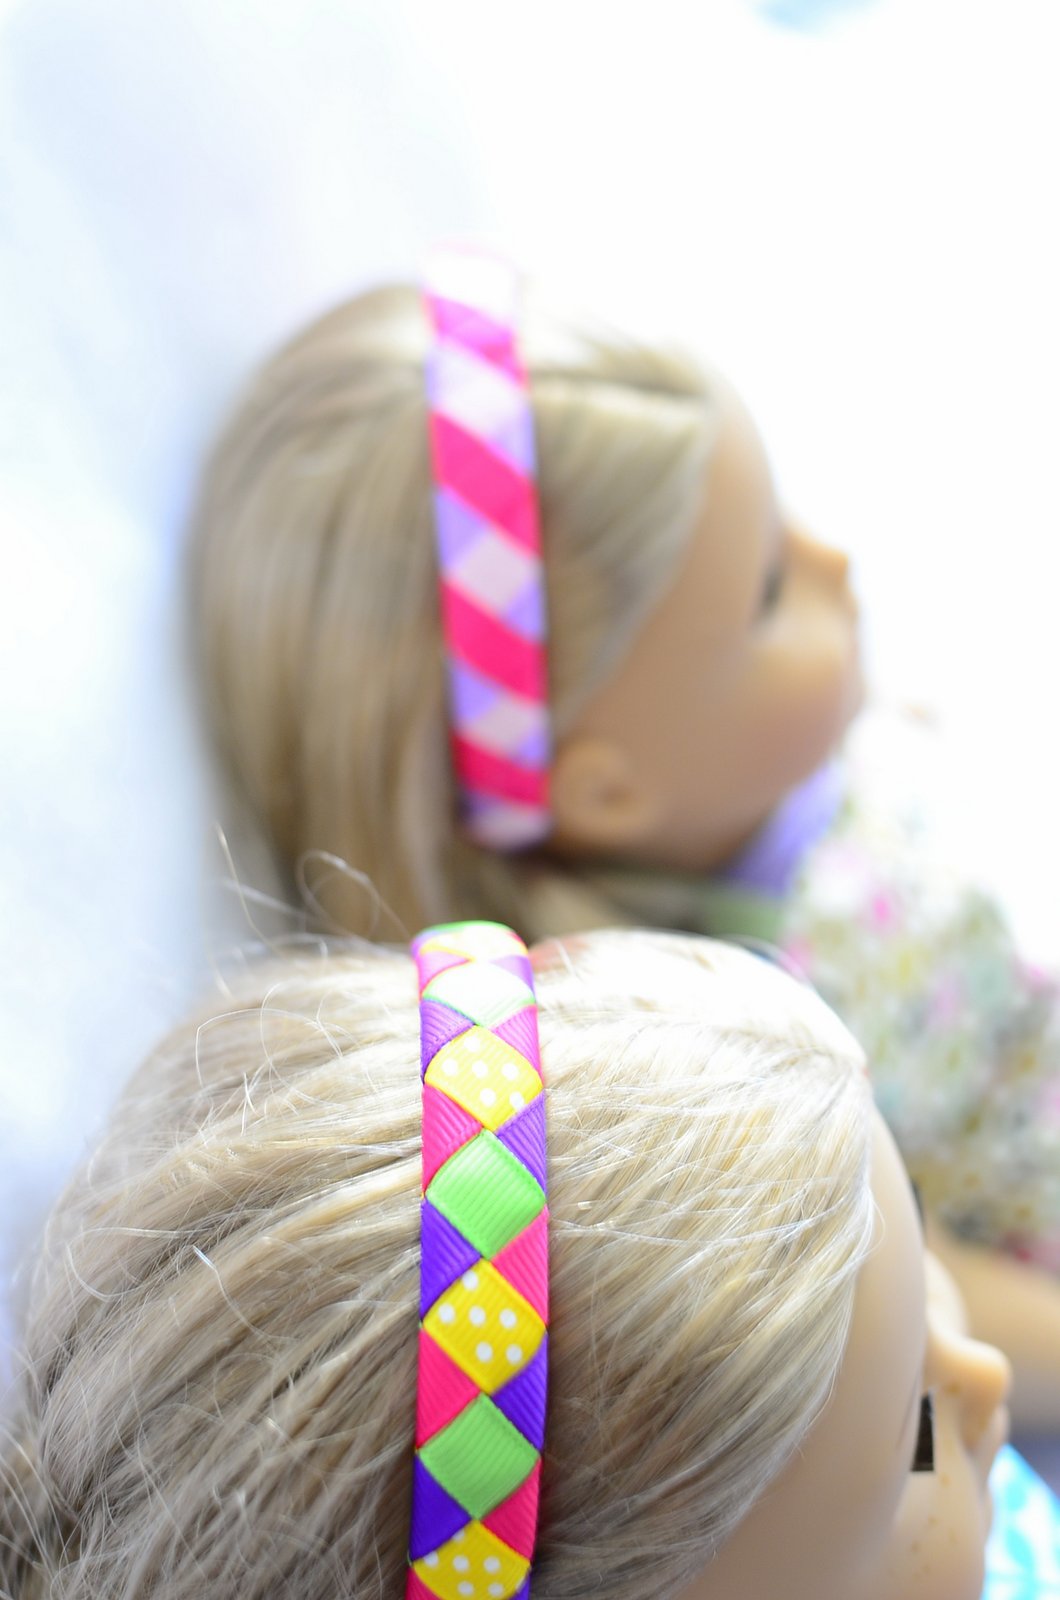
 And...if you're wondering about the adorable headbands (which come in matching human size), my friend Lindsay makes them.  Find them here at Pretty Little Things.  


Even though the girl on the left is wearing a ball gown and fur-trimmed gloves, she's ready to bake up a batch of cake pops!  
 
Why does anything miniature-size make me giggle?
See more here, here and here.


Friday, January 20, 2012

Handmade Fabric Doll for Miss M.

Our friend turned one at the beginning of January.  What better way to recognize this milestone than with her very own dolly.

This one looks just a wee bit like Miss M - blonde hair, blue eyes and super cute all over!

Her eyes are hand-embroidered, courtesy of this tutorial over at Sublime Stitching.

 I love these little feet - just like our friend who is about to master cruising all over!  And, the dress fabric is a sweet corduroy print my aunt sent from her stash (I should say, she sent along WITH her stash - all 70+ pounds of it!).

I hope Miss M. loves her dolly as much as little A. loves hers (see here).


Thursday, August 4, 2011

And, I'm done...

...with the doll clothes, that is. 

This last batch all come from this book.  Very good, easy to follow patterns. 

I still can't get over how detailed doll clothes can be.  I think I could now create an entire wardrobe for MYSELF after this experience. 

But, it was all good fun and a great project.

First off was this little fleece vest with fleece trim and a separating zipper (pay no attention to some extra stitching on one side of the collar!).
Fleece vest

Collar detail
 Next, some khaki pants to go with the vest.  Two issues here: first, there are supposed to be cargo pockets on the pants, but my brain wasn't processing the directions for making the box pleat (or the measurements were wrong in the book) so I put those aside.  Second, these patterns don't call for much finishing of seams.  After sewing up the pants, I decided to serge the inside - hacking off part of the fly.  So, it looks a little lopsided because it's missing about a 1/2" of fabric.

Khaki pants with REAL fly...

...and REAL pockets!
Lastly, the tweed overcoat for chilly New England winters.  I originally wanted something in an animal print, but this fabric jumped out at me.  I really love the red piping with it.

More REAL pockets!

Tweed overcoat

Sleeve detail - see the slight gathering?

Lined, no less!

Back view -  I love the piping accent

All assembled..

...packed, and ready to go!
I hope Chloe enjoys her new clothes (and fits into them!).  I think I'll take a break from sewing small things and get going on some birthday things for an almost-two-year-old in our house. 

Wishing you the satisfaction that comes from a completed project!

Thursday, July 28, 2011

A little intense...

The doll clothes sewing continues.  I found two books with lots of 18" (read: American Girl) doll clothes patterns.  Little Chloe here almost fits those, with a little tweaking. 

This wrap dress jumped out at me and I thought it looked fairly simple.  Ha!  I'll say the good news is that I learned A LOT about clothing construction making this dress (and the pattern is well-written, don't get me wrong).  However, in the time it took me to make it, hubby thought I made a matching one for the doll's owner too!

Wrap dress from here

The bodice is lined and handstitched from the inside - not a strongsuit of mine. But, I'm happy with the end result. It's cute and hopefully easy for three-year-old fingers to put on.


back detail
  A much simpler option is the Popover Doll Dress from Oliver+S.  I've had this fabric in my stash for at least a year and finally dared cut into it.  I'm glad I did!

Popover Doll Dress from Oliver+S found here

The matching pants are from a self-drafted pattern using the doll's pajama pants (remember she was here for a sleepover?).  I will say I made a bunch of these for our smaller baby dolls and didn't cut the straps on the bias.  It made a big difference.  Look how happy Chloe is! 

strap detail
Fabric is cut for three more items that I just could resist!  Really, the doll clothes are slightly out-of-control.  I don't know if I would spend this much time/detail on my own kids' clothes!  But, it's somehow very fun (and makes me giggle) to sew up these patterns and fit them on the doll.  Look for the rest soon!

Hope you are finding something to make you giggle today!

Sunday, July 24, 2011

A new project...

Our good friend is turning three very soon.  Her doll is in need of some new clothes - especially ones an almost-three year old might be able to do herself. 

What's a Jane-of-all-Trades, crafty friend to do?  Sew the clothes, of course! 

Here is Chloe (she came for a sleepover and a fitting) with her first set of new threads - very preppy.


Chloe in polo shirt, pattern from Liberty Jane clothing

The knits used for the shirt were repurposed from two maternity shirts.  The skirt is a simple A-line made from gray knit. 

Watch for more as the week rolls on.

Happy Monday!

Thursday, June 24, 2010

A new girl in town...

Just over 9 months ago, a new girl arrived on the scene here. 
Ever since, she has captured our hearts with her constant smiles (and dimples to boot), sense of humor, and long, skinny legs.

It only seems appropriate that this little doll be hers.

Just look at those legs


and that smile.


She even likes to play hide-and-seek like our new little one!


Happy weekend!

LinkWithin

Related Posts Plugin for WordPress, Blogger...