Showing posts with label girl. Show all posts

Saturday, February 25, 2012

Fabric sunhats


Just popping in to say hello, and share my latest project: fabric sunhats from Oliver + S Little Things to Sew: 20 Classic Accessories and Toys for Children


All the fabric is from the Little Lisette line at Joann's (can you believe that?).


I love the colors, the feel of the fabric and, of course, the perfect summertime print.

Sending some sunshine your way!


Sunday, February 12, 2012

Jazzy Heart Clip Tutorial

Valentine's Day is just two days away.  Looking for a quick, cute, simple project to surprise your little one?  Try the Jazzy Heart Clip.  It will add just the right sparkle to your Valentine's Day!

You will need a glue gun (or fabric glue), one bendy clip, two felt heart pieces (mine are around 3" x 3"), and about a half yard of sequins.  These are from Joann's and come threaded - they are very pliable, which is perfect for this project.

Step 1: lay the clip on one heart and mark two small lines about a half inch in from the ends of the clip.  Snip these lines.  Put the clip aside for now.

Step 2: put the two felt hearts together and sew a simple seam around the entire edge - mine is about 1/4".

 
Step 3: start gluing the sequins down.  Use a THIN layer of glue and work in sections.  Follow the outside of the heart, curving the line of sequins as you go.  Overlap the sequins a bit.  When you get to the almost-end, you may need to go over some sequins a bit to even out (see how my bottom left photo just had a little space to fill in?  I went up to the right (see bottom right photo) to even out the last two lines.)  Cut the thread between sequins and glue down the end - try to tuck the thread under, into a dab of glue.


Step 4: open up the clip and slide through the two slits you cut.  That's it! 


Now, go make a bunch and surprise your little Valentine!  (Little E. likes the white one best - she says it looks like a cookie with frosting.  YUM!)
Have a sparkly Valentine's Day!

Monday, February 6, 2012

Ruffle Headband Tutorial - super easy!


If you are looking for a VERY quick and easy project for you or your little one, look no further!  With just two supplies and your sewing machine, you'll have a cute, ruffled headband in about five minutes!

Materials: one elastic headband (you could use a 1/2" width elastic you buy at the fabric store - just add an inch, overlap ends and zigzag to sew together)
                one cut of ribbon about 2 1/2 times the length of the headband
*A note on ribbon choice: 
some ribbons will ruffle better than others
I had some grosgrain with a printed/painted pattern on top, and some woven.


The woven, non-printed one definitely worked best.  A smaller print on the grosgrain seems to be better, too.

Fold one end about 1/2".


Place fold up against headband.

Position this "sandwich" under your needle.  Lock stitch in place.  You want the elastic facing up so you can get a nice, straight stitch and keep the elastic in the middle of the ribbon.


Pull ribbon straight, and then stretch elastic fairly far (the more you stretch, the more ruffle you'll get).  Pinch together in one hand.  Sew with a regular stitch.  Restretch and position elastic and ribbon as you go.  Use your other hand to gently pull ribbon and elastic from the back (behind the presser foot).  


As you get close to the beginning, stop and overlap the end.  Cut to about 1", fold over 1/2" and abut ends (see photo below).  Be sure to tuck raw edge under so it is sandwiched between the elastic and the ribbon.


Sew through end and lock stitch.


You'll get this snakey mess...


...all ruffly...
  

that can be worn this way...

...or this way!


Thursday, February 2, 2012

Rainbow birthday - all the rest!


You've seen the craft and the decorations. Here's what else we did to help little E celebrate big FIVE!

Coloring pages (from here)...

...rainbow scavenger hunt: balloons of each color were hidden with coordinating stickers.  The kids had to find each balloon and sticker their paper.  When they found all six colors...

...they received a little bag of gold (and silver) at the end of the rainbow!

Fabric party hats (found here), rainbow-style...


...twirl rainbow pops...


...rainbow relay: the kids lined up in teams of six.  They had to put on the rainbow wig, run to the other side of the room and color in one color of the rainbow.  When done, they ran back to their team, pass the wig and the next child runs down to color.

 
The rainbow cake (recipe here), but we didn't make it for the kids' party because a certain five-year-old didn't like it. We made sugar cookies with frosting and rainbow sprinkles instead.

...a rainbow of fruit..


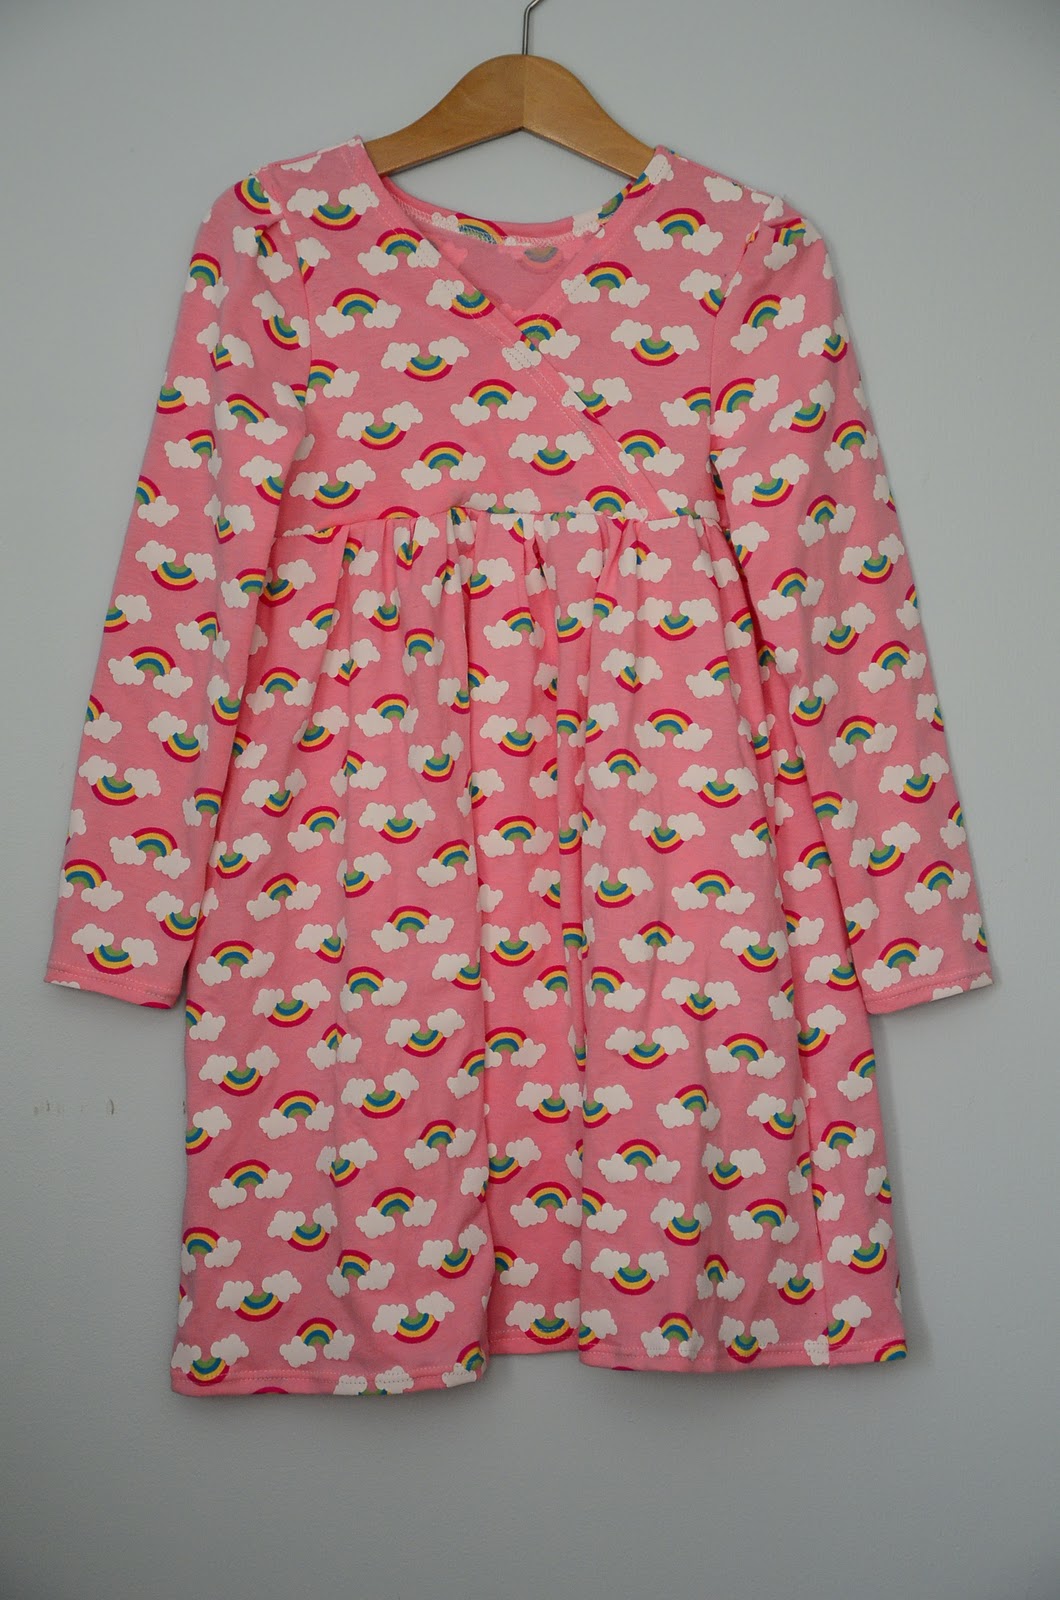
...the dress (handmade by me, am loving the finished look of the double needle!).


I think it was a successful party.


The five year old looks pretty happy!

Friday, January 20, 2012

Handmade Fabric Doll for Miss M.

Our friend turned one at the beginning of January.  What better way to recognize this milestone than with her very own dolly.

This one looks just a wee bit like Miss M - blonde hair, blue eyes and super cute all over!

Her eyes are hand-embroidered, courtesy of this tutorial over at Sublime Stitching.

 I love these little feet - just like our friend who is about to master cruising all over!  And, the dress fabric is a sweet corduroy print my aunt sent from her stash (I should say, she sent along WITH her stash - all 70+ pounds of it!).

I hope Miss M. loves her dolly as much as little A. loves hers (see here).


Thursday, June 24, 2010

A new girl in town...

Just over 9 months ago, a new girl arrived on the scene here. 
Ever since, she has captured our hearts with her constant smiles (and dimples to boot), sense of humor, and long, skinny legs.

It only seems appropriate that this little doll be hers.

Just look at those legs


and that smile.


She even likes to play hide-and-seek like our new little one!


Happy weekend!

LinkWithin

Related Posts Plugin for WordPress, Blogger...