Showing posts with label garland. Show all posts

Tuesday, February 12, 2013

Spread the love


I think Valentine's Day is as much a day to celebrate your special sweetie as it is to celebrate your other loved ones: kids, parents, friends, and relatives.


The girls and I sewed up a few Valentine felt garlands for the grandparents, and honorary grandparents (special aunts and uncles).


I love how simple this project is, and how much Valenteine cheer can be spread with it. 


Rolled up, slipped into a clear plastic bag, labeled with a simple tag, and ready to deliver!

Hope you are finding some holiday inspiration this week!

Thursday, February 2, 2012

Rainbow birthday - all the rest!


You've seen the craft and the decorations. Here's what else we did to help little E celebrate big FIVE!

Coloring pages (from here)...

...rainbow scavenger hunt: balloons of each color were hidden with coordinating stickers.  The kids had to find each balloon and sticker their paper.  When they found all six colors...

...they received a little bag of gold (and silver) at the end of the rainbow!

Fabric party hats (found here), rainbow-style...


...twirl rainbow pops...


...rainbow relay: the kids lined up in teams of six.  They had to put on the rainbow wig, run to the other side of the room and color in one color of the rainbow.  When done, they ran back to their team, pass the wig and the next child runs down to color.

 
The rainbow cake (recipe here), but we didn't make it for the kids' party because a certain five-year-old didn't like it. We made sugar cookies with frosting and rainbow sprinkles instead.

...a rainbow of fruit..


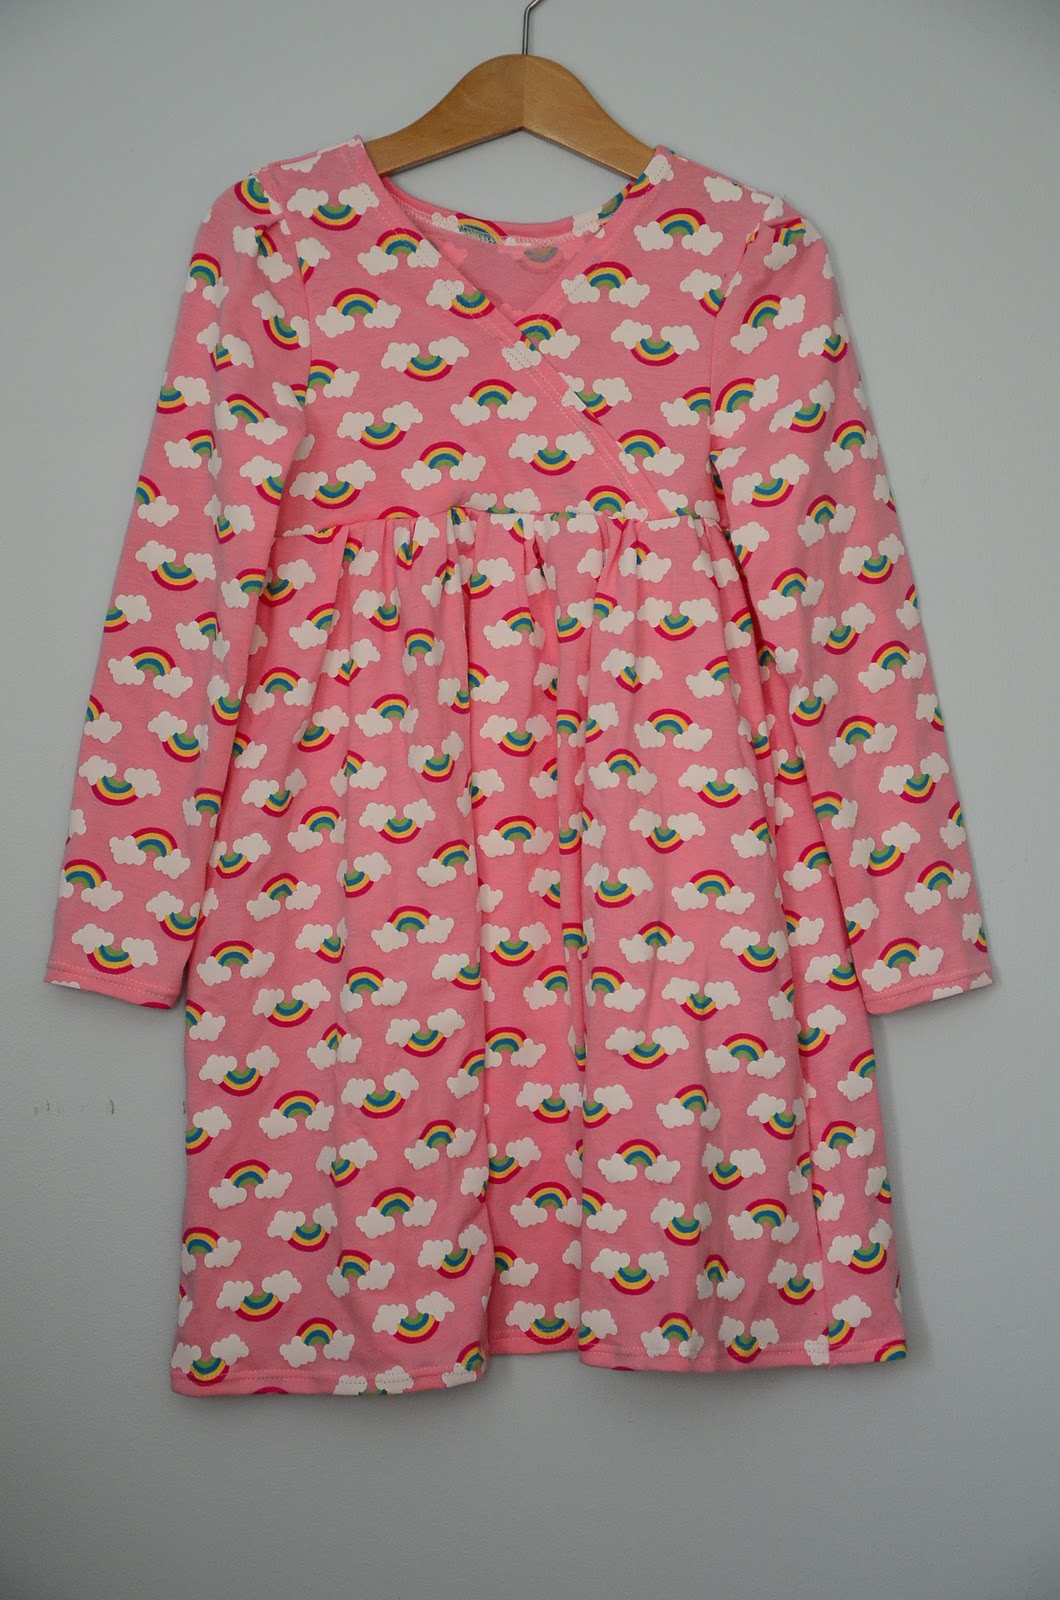
...the dress (handmade by me, am loving the finished look of the double needle!).


I think it was a successful party.


The five year old looks pretty happy!

Saturday, January 28, 2012

Rainbow birthday - the craft: rainbow garland from upcycled cardboard tubes


Is it the crafter in me, the artistic birthday girl, or the 12 children in the house on a winter day that called for a rainbow party craft?
I love that little E was soo proud of our enviro-friendly craft - the first thing she announced to everyone as they sat down at the table was, "It's made out of toilet paper tubes!"  Not paper towel tubes or wrapping paper tubes (which are both true!).  She's a crafter and an enviromentalist!

Here's what we did:
Materials: washable paint, glue, 8 rings (cut from upcycled cardboard tubes from you-know-where), paintbrush, hole puncher, yarn needle and yarn, cotton balls, large beads

1. Punch two holes on either side of each ring.


2. Paint seven rings (eight if you want to do a white coat under the cotton ball). With the lighter colors, you may want to do more than one coat.
3. Pull apart the cotton balls for a cloudy effect.  Glue them on the remaining ring.

4. Thread your needle.  If you double up the yarn and push the loop through the eye of the needle, you'll end up with a loop to hang the project when you are done.  Handy, eh?

5. Alternate bead and tube (oops - no cotton on that one - I glued it afterwards - with the kids, we skipped the white paint and glued the cotton before stringing everything so the glue could dry a bit).

6. Have fun and be creative with your color choices.

All strung...

...and ready to hang.


Perfect for a rainy day, or any day you need a little extra color!

Tuesday, October 26, 2010

Another bunting

It's almost Halloween - hooray!  I don't know what it is about this holiday that always has me a bit giddy.  We are definitely not the family to recreate a graveyard in our front yard or go to town carving pumpkins.  But, I love my Halloween decorations that come out of the box each year, and have been enjoying creating a few new ones this year. 


First up, another bunting/garland.  I made my first appliqued bunting for little A's birthday.  I thought I would do another very similar but with square panels instead of triangles (it was kind of tricky fitting and centering the letters on the pennants).  I had planned to sew orange pom poms to connect all the letters but then saw the orange rick-rack and went with that.  After seeing an old post on Made by Rae, I decided to use the tiny black rick-rack to make little tags instead.

All in all, I like the look of this, but, let me tell you:  it is NOT easy to slide tiny rick-rack along a larger rick-rack length.  And....if you want to get a photo of your completed project, don't do it on a windy day - these letters were flipping around all over the place!  (Where I actually hang the bunting inside is in our stairwell - the light is really tricky for getting a good photo.)

Also, if you have a dog, you might want to keep him inside for your outdoor photo shoot or he might grab the bunting and run for it, causing a tangeld, twisted mess (not that MY dog did that...wait, yes he did.  Sigh...)

On a last, wonderfully positive note:  I found a new product that I love, love, love - Sulky Temporary Spray Adhesive.    Not using iron-on fusible web makes me feel a bit like a cheater, but it was soo easy to simply spray, stick and sew!


Happy Halloween!

Wednesday, September 22, 2010

Birthday Bunting

So, we are coming off of big birthday doings in our house.  Baby A turned one!  I guess, technically, she is no longer a baby - instead, a bona fide toddler (she is a walking fiend!) - but, still a baby in my eyes.
In honor of her big day, I made her a birthday bunting (garland, banner, etc.).  I finally cut into my Alexander Henry "City Park" fabric and love the cheery colors together.  I wish I had backed the yellow letters with something before applique-ing them on, though - they get a little lost with the blue showing through.  Anyway...

Happy Birthday, little A - you deserve a birthday sign that brings as much happiness and sunshine into the world as you bring into ours!


LinkWithin

Related Posts Plugin for WordPress, Blogger...