Showing posts with label decorations. Show all posts

Tuesday, October 23, 2012

Candy Corn Bunting tutorial


For this week's installment of Bias Tape Tuesdays, we are making something so easy and festive, and it's a great use of bias tape - the holiday bunting! 


If you are looking for a quick project to add a little Halloween spirit to your home, look no further!  With a few cans of spray paint, some burlap fabric and your homemade double-fold bias tape, you can whip this up in no time (don't forget the candy corn for inspiration and crafty energy!).


1. Decide how big you want your triangles - mine are 6 1/2" sides x 5 1/2" base (the part that gets sandwiched in the bias tape).  Cut as many as you want for your bunting.  Then, using painters tape, tape off the top and bottom.


2. Find a safe spot to paint the fabric.  I taped mine down on craft paper outside. 


3.  Spray away!


4.  When dry, peel the tape.  Almost looks good enough to eat!


5.  Once the orange paint is dry, tape over it and spray the top point white and the bottom portion yellow.  (I was using burlap already in my stash.  In retrospect, this would have worked better with white duckcloth - then I wouldn't have to spray the top white!)


6.  Once dry, peel the tape and reveal your burlap candy corns.  Make coordinating double-fold bias tape following this tutorial.  Mine is 1/2".   I love how the fabric I found has the yellow and orange stripes to match the candy corn pattern (and I managed to find it while the 3 year old was running around hiding in Joann's).


7.  Sandwich your burlap candy corn in between the folds of the bias tape.  Pin in place.


I spaced mine about 1" apart and left an ample amount of bias tape on either end for hanging.


8. Starting at one end, start sewing, making sure to enclose all points of candy corn in the bias tape.  Continue sewing to other end.


That's it!  A beautiful, easy decoration for Halloween!
 
 
Hang it up, admire your craftiness and eat some real candy corn while you do! 


Thursday, February 2, 2012

Rainbow birthday - all the rest!


You've seen the craft and the decorations. Here's what else we did to help little E celebrate big FIVE!

Coloring pages (from here)...

...rainbow scavenger hunt: balloons of each color were hidden with coordinating stickers.  The kids had to find each balloon and sticker their paper.  When they found all six colors...

...they received a little bag of gold (and silver) at the end of the rainbow!

Fabric party hats (found here), rainbow-style...


...twirl rainbow pops...


...rainbow relay: the kids lined up in teams of six.  They had to put on the rainbow wig, run to the other side of the room and color in one color of the rainbow.  When done, they ran back to their team, pass the wig and the next child runs down to color.

 
The rainbow cake (recipe here), but we didn't make it for the kids' party because a certain five-year-old didn't like it. We made sugar cookies with frosting and rainbow sprinkles instead.

...a rainbow of fruit..


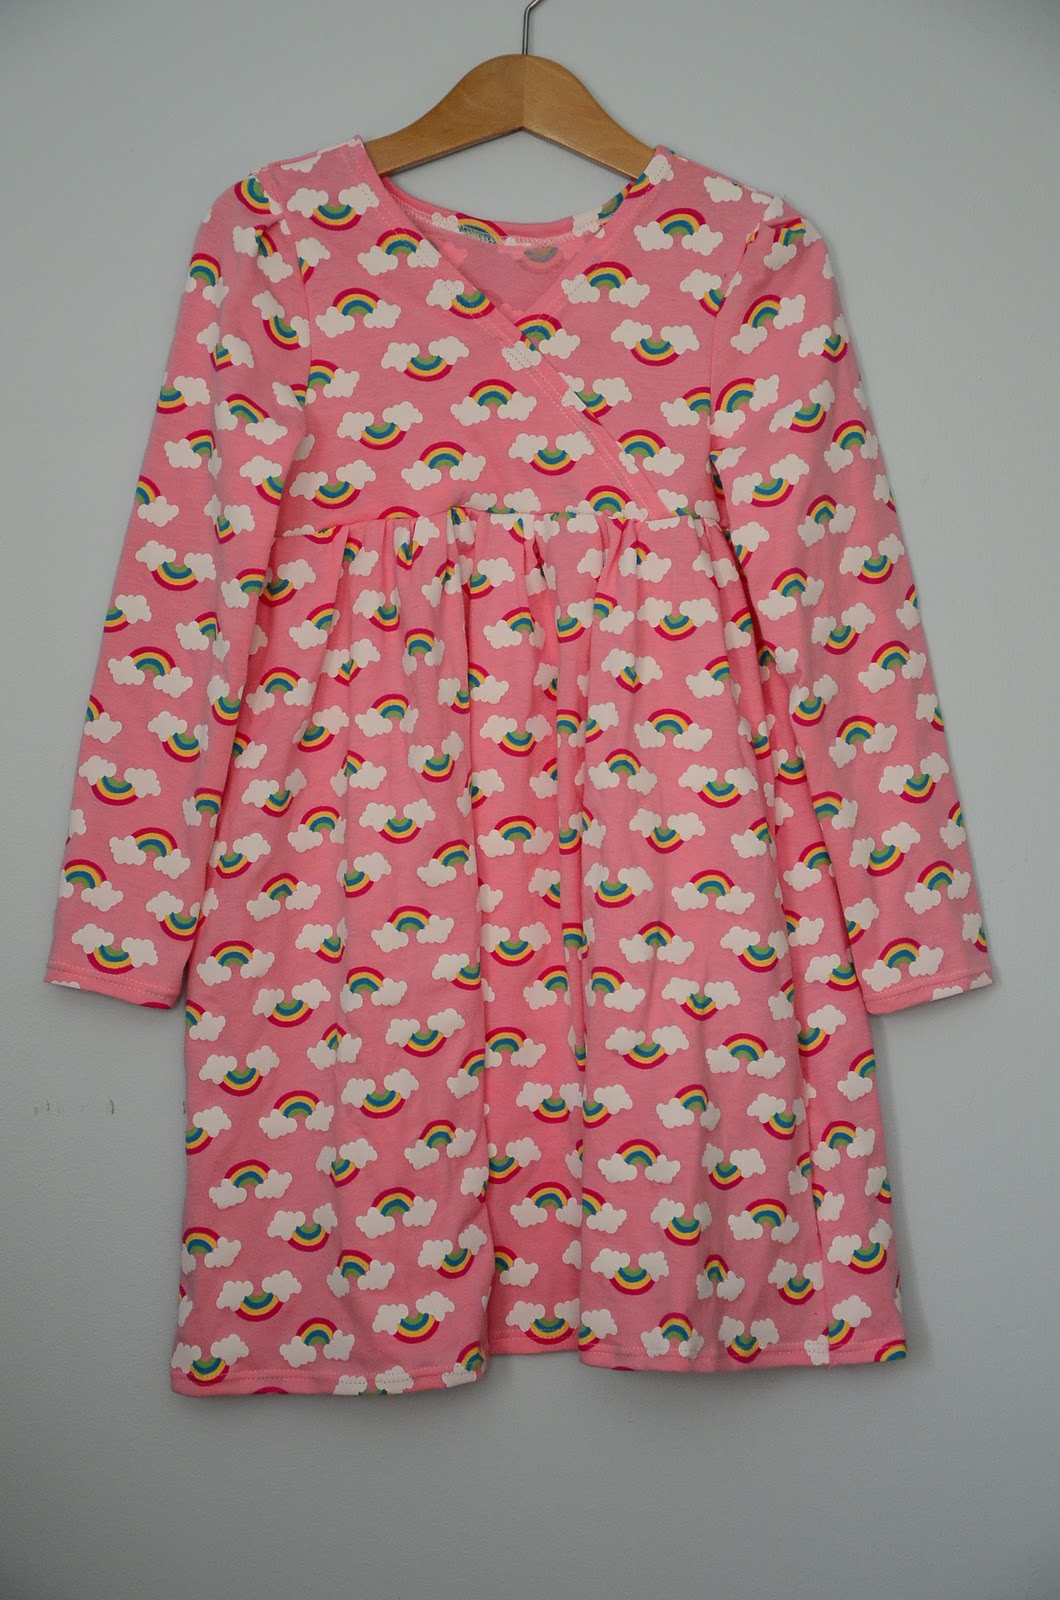
...the dress (handmade by me, am loving the finished look of the double needle!).


I think it was a successful party.


The five year old looks pretty happy!

Saturday, January 28, 2012

Rainbow birthday - the craft: rainbow garland from upcycled cardboard tubes


Is it the crafter in me, the artistic birthday girl, or the 12 children in the house on a winter day that called for a rainbow party craft?
I love that little E was soo proud of our enviro-friendly craft - the first thing she announced to everyone as they sat down at the table was, "It's made out of toilet paper tubes!"  Not paper towel tubes or wrapping paper tubes (which are both true!).  She's a crafter and an enviromentalist!

Here's what we did:
Materials: washable paint, glue, 8 rings (cut from upcycled cardboard tubes from you-know-where), paintbrush, hole puncher, yarn needle and yarn, cotton balls, large beads

1. Punch two holes on either side of each ring.


2. Paint seven rings (eight if you want to do a white coat under the cotton ball). With the lighter colors, you may want to do more than one coat.
3. Pull apart the cotton balls for a cloudy effect.  Glue them on the remaining ring.

4. Thread your needle.  If you double up the yarn and push the loop through the eye of the needle, you'll end up with a loop to hang the project when you are done.  Handy, eh?

5. Alternate bead and tube (oops - no cotton on that one - I glued it afterwards - with the kids, we skipped the white paint and glued the cotton before stringing everything so the glue could dry a bit).

6. Have fun and be creative with your color choices.

All strung...

...and ready to hang.


Perfect for a rainy day, or any day you need a little extra color!

Saturday, January 14, 2012

Rainbow birthday - the decorations, part 2

Once the holiday decorations come down, it's time to decorate for our January birthday girl.  That poses a bit of a question of what to put on the doors. 

This year, I found this yarn wreath in Stash Happy: Felt.  I tweaked the directions a bit (I'll show you how tomorrow) to make these two wreaths.

I love the pop of color against the natural color of the yarn and our weathered doors.  I think these fall right into the birthday decor and will be a favorite for years to come.

Wishing you a pop of color in your day!

Friday, January 13, 2012

Rainbow birthday - the decorations

Somebody turned five today!


She requested a rainbow birthday.


These are felt carnations from Stash Happy: Felt


They kind of rainbow-fy the room.


I'll share the yarn wreath I made from the book tomorrow.

Until then, wishing you a colorful day!

LinkWithin

Related Posts Plugin for WordPress, Blogger...