Showing posts with label scraps. Show all posts

Wednesday, May 16, 2012

Fabric bookmark

Anna Maria Horner "Good Folks" fabric
 I have been in the middle of yet another auction frenzy this spring - hence less posts.  However, I didn't want to miss the chance to enter Zaaberry's giveaway.  She asks you to comment on a favorite tutorial.

This fabric bookmark with clear vinyl pocket is definitely a favorite of mine.  I made this one for my sister-in-law at Christmas - the perfect little something to give a book store gift card.


Are you wondering how I made this at Christmas but the tutorial just came out?  I got a sneak peek from Ruby and have been waiting for the tute ever since!  It really is a great little project.

Don't forget to enter her giveaway - it ends tomorrow!

Good luck!

Friday, July 15, 2011

Girl on the go headband


It's summer and there are two busy girls in our house - one of whom has crazy hair that always needs some help getting tamed.  The other barely has any hair, so she needs something to shade her little head.  The solution?  The "Girl on the go headband" - an easy, quick, satisfying project.  Want to make one?  Here you go:

Materials:  one 12" x 12" square triangle of fabric*
                    one headband (mine are child-sized, about 14" long)


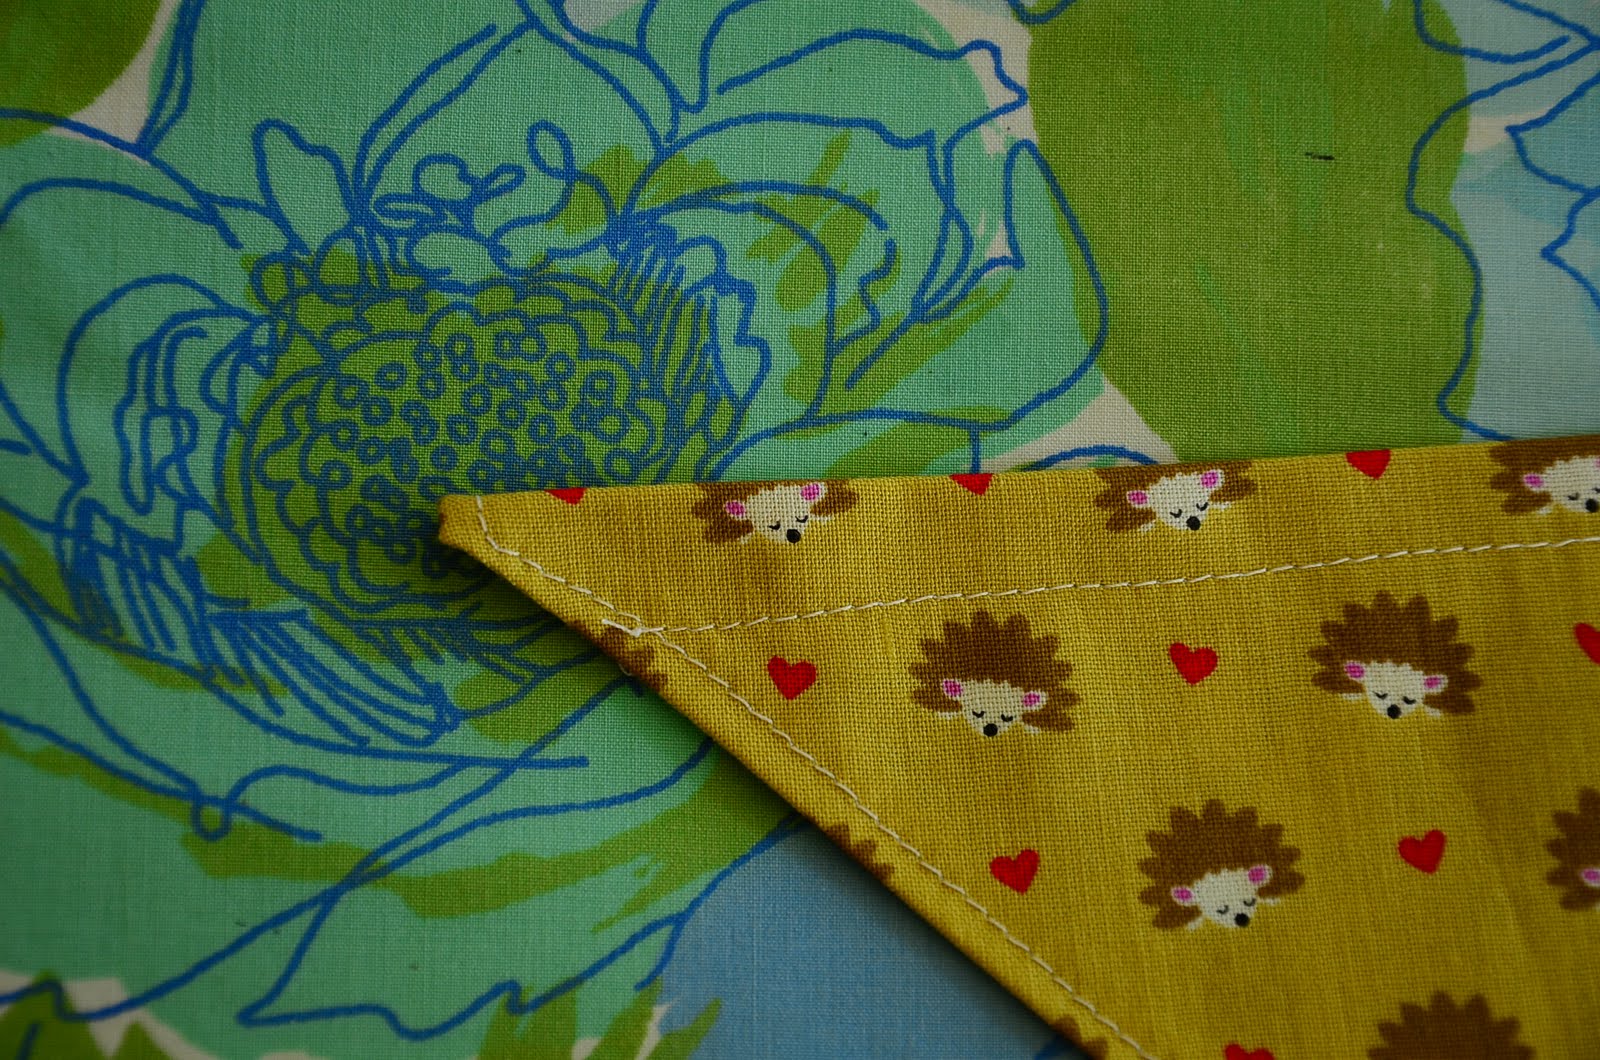
*Note: if you are using a fabric with a directional print, line up the print with the long side of the triangle (the hypontenuse for you math-lovers) - see mine above


1.  Cut about 1" off each end of the long edge.


2. Serge (or zigzag or pink) around all the edges.


3.  Fold over and press all sides but the long edge.


4.  Stitch the pressed edges down.


5.  To make the casing for the headband, fold the long edge over - either measure or use the headband to figure out how much to fold over.  Example - my headband is about 1/4" wide, so I folded 1/4" plus the serged edge.  You want it to be snug, but not so much that you can't feed the headband through.


 6.  Stitch along the long edge to form the casing. 


7.  Feed the headband through the casing, fold the pointed edges up and stitch straight across to close the casing.  


8.  That's it!  You can snip the little point off if you prefer.


9.  One girl ready to be on-the-go!


How about some rainy day fabric?


Or bold, primary color flowers?


Or a vintage-y looking blue and white?


Have fun digging through your stash and creating a little something for your little one!


Monday, December 13, 2010

Pocket o' chocolate holiday tags

For today's big adventure, the girls and I checked out our new local food market - a cross between Trader Joe's, B.J.'s and IKEA.  While it won't become our one-stop grocery, we did find some treats - these little holiday chocolates.  At $1.49 for a bag of 12, why not buy one (or three) we thought.  As we drove along our merry way, little E and I discussed our sweet thrifty find and what we could do with 36 or so chocolate characters.  One idea led to another until, "Wouldn't it be neat to make a gift tag with a little pocket for the chocolate?  A chocolate pocket!"  So....here's how we did it (or, really, how I did it while baby A napped and little E had a ton of fun "arting" with my fabric scraps, glue, "stamples" and paper):

 1.  Gather chocolates or some other small treat for your pocket tags.


 2. Dig through your scraps for festive fabric - cut into 2 inch squares and iron if needed.

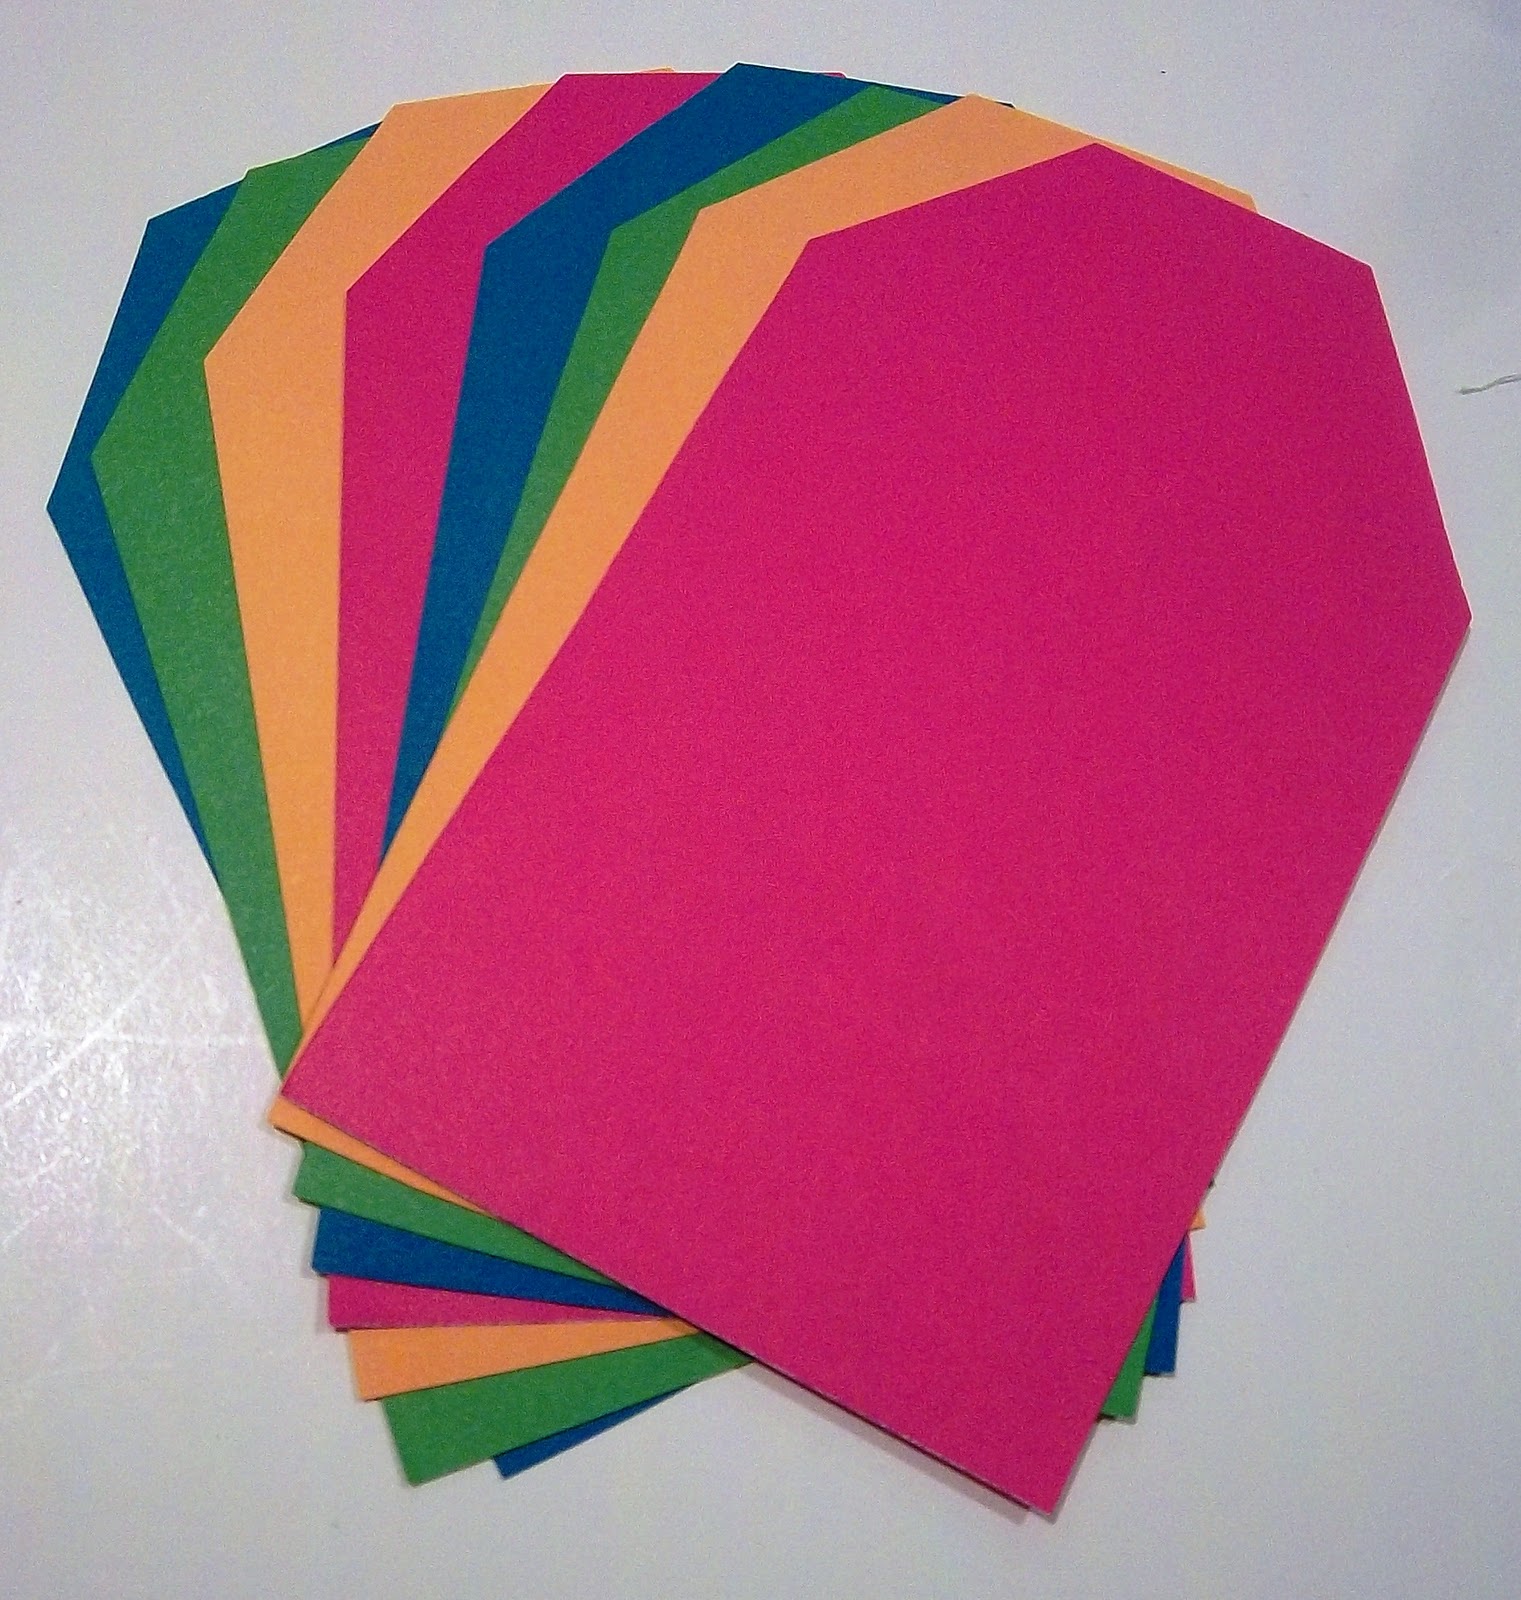
 3.  Find some card stock and cut into simple tag shape.  Mine ended up being as follows:


 4. Pink all four sides of fabric squares (perfection NOT necessary!).


 5. Place fabric on tag for desired placement (NOTE: this pocket is a bit tall - after sewing this one, I trimmed the rest down about a 1/2 inch").


 6. Sew sides and botton, using a 3/8" seam.  Backstitch at each end.  I found it helpful to lengthen stitch a bit and go slowly (and it helped to give a loving nudge to the paper as it fed through the machine).


 8. Label tag for your intended recipient and add the chocolate.  See the snowman peeking out?


 9.  Make lots more because they are so easy, and who doesn't love chocolate?


 10.  If you don't have a fancy new food market in town, try some mini-candy canes instead!  (For a snugger fit, you can cut the fabric a bit shorter in width.)


 11. Stand back and imagine the grin on their little faces when they see they have presents AND chocolate to open on Christmas day.


 12. And, because this is such a taxing craft project (note: sarcastic tone), don't forget to treat yourself to some chocolate too! 


Happy crafting!

LinkWithin

Related Posts Plugin for WordPress, Blogger...